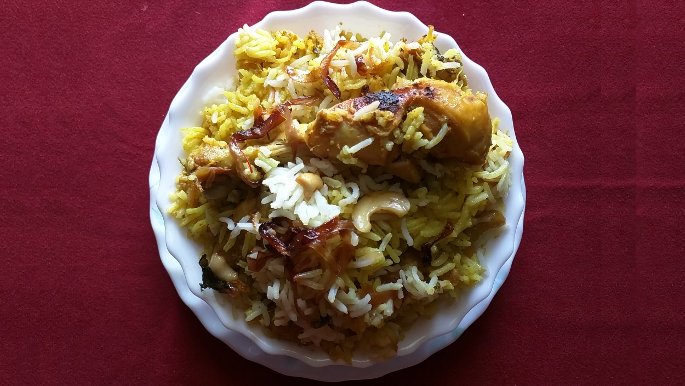
Mildly Spicy Homestyle Chicken Biryani
Prepared By Lakshmi Aparna
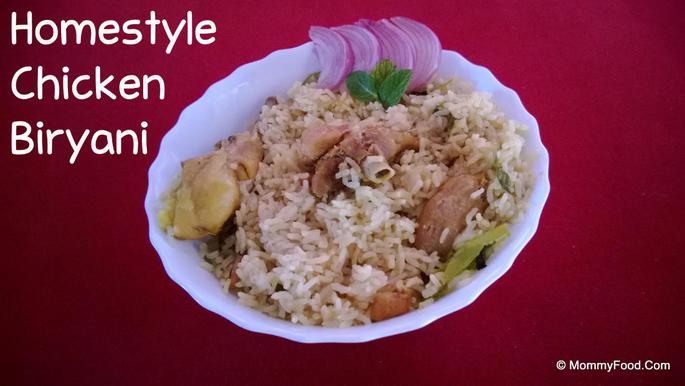
Welcome to our delightful recipe for Mildly Spicy Homestyle Chicken Biryani. This dish combines tender chicken pieces with fragrant basmati rice, infused with a harmonious blend of spices that offer a perfect balance of flavor without overwhelming heat. Ideal for family gatherings or a comforting meal, this biryani is both nutritious and delicious, making it a favorite among all age groups.
Important: Please note that this is a "Mildly Spicy Biryani," prepared with just 2 teaspoons of Ghee (Clarified Butter). Because it is devoid of oil, the recipe will not taste the same as its restaurant counterpart. However, it is definitely a healthier option, especially for kids, since less spice, no oil, and a little Ghee are always good for digestion.
Serve it hot and consume it immediately. If there is a delay between cooking and serving, use Basmati Rice instead of regular rice and add a little more Ghee to maintain the texture and flavor.
If you are looking for a spicier biryani, you can check out our Special Chicken Biryani Version 2.0 by clicking HERE.
Preparation time: 20 minutes
Cooking time: 30 minutes
Serves: 4-5
Quick Navigation:
- Ingredients
- Procedure
- Step 1: Marinate the Chicken
- Step 2: Refrigerate the Marinated Chicken
- Step 3: Prepare the Spice Blend
- Step 4: Blend the Spices
- Step 5: Prepare the Masala Cloth
- Step 6: Boil the Masala Cloth
- Step 7: Cook the Marinated Chicken
- Step 8: Prepare the Garnishes
- Step 9: Prepare the Rice
- Step 10: Fry the Onions and Green Chillies
- Step 11: Add Ginger Garlic Paste
- Step 12: Incorporate Fresh Herbs
- Step 13: Add the Rice
- Step 14: Combine Chicken with Rice
- Step 15: Add Masala Water
- Step 16: Season and Cook
- Step 17: Final Cooking and Serving
Ingredients
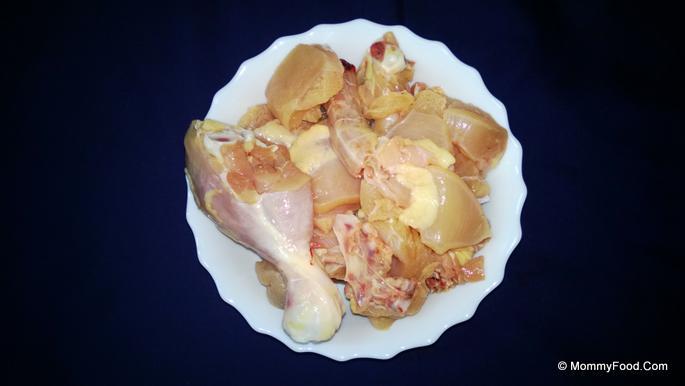
Chicken (Large Pieces): 750 grams
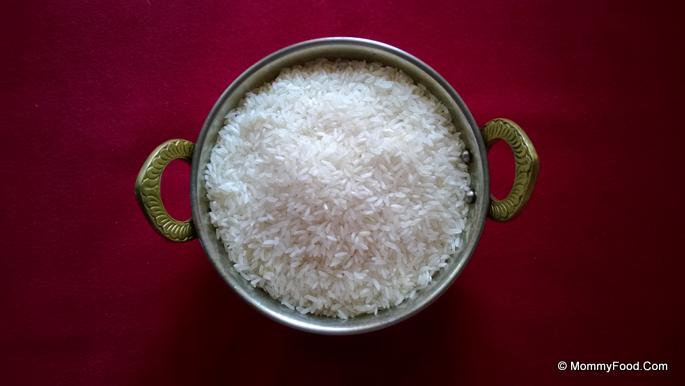
Regular Rice or Basmati Rice: 1/2 kg (We used regular rice for this recipe)
Water: 1 and 1/4 liters
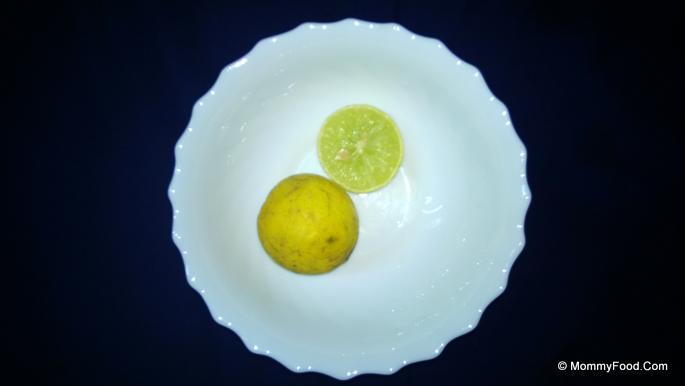
Lemon: 1/2
Ghee: 2 teaspoons
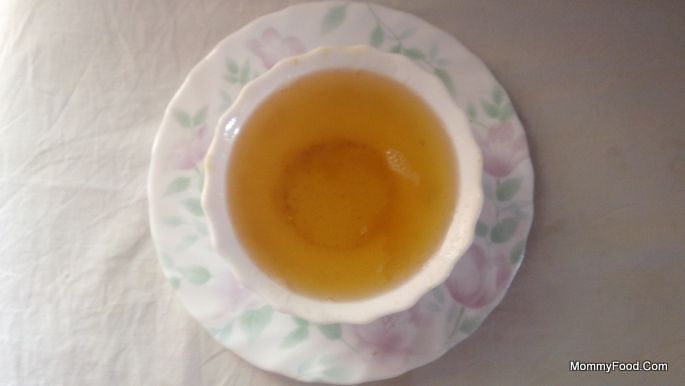
Pasupu (Turmeric Powder): 1 teaspoon
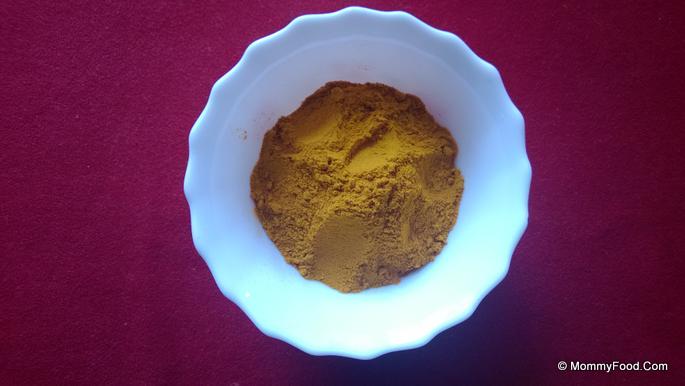
Allam Velulli Paste (Ginger Garlic Paste): 4 teaspoons
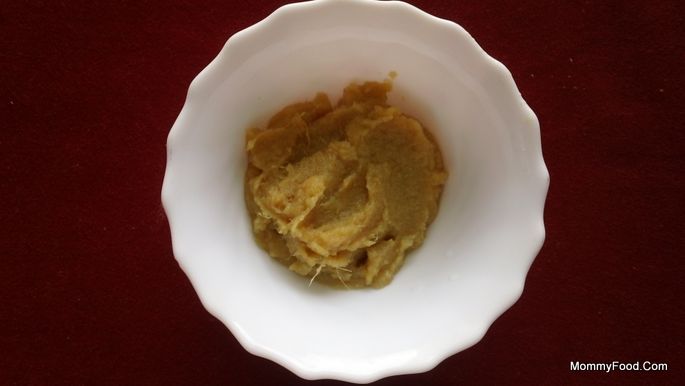
Ullipaya, Pachimirapa (Onion, Green Chillies): 1 small onion, 3 or 4 green chillies
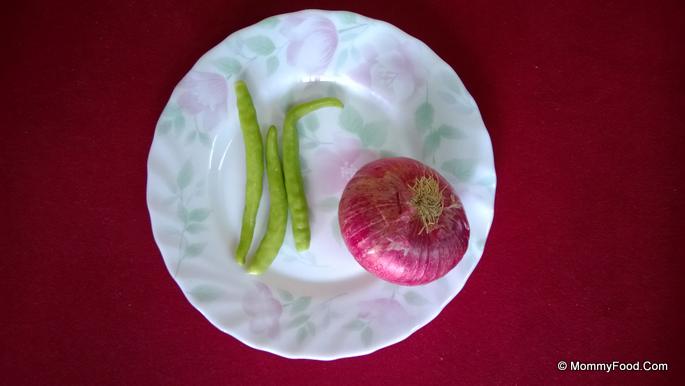
Kothimeera, Pudina (Coriander Leaves, Mint Leaves): 1 cup
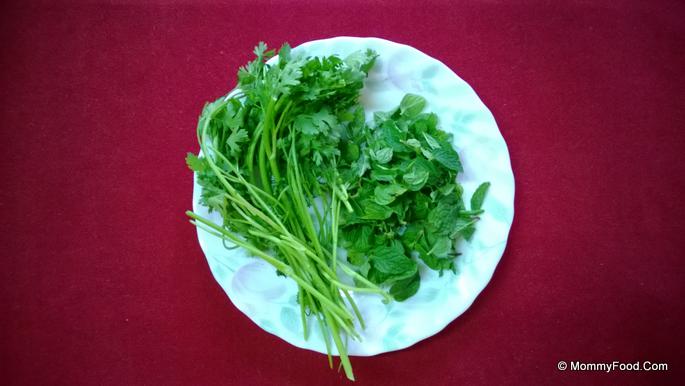
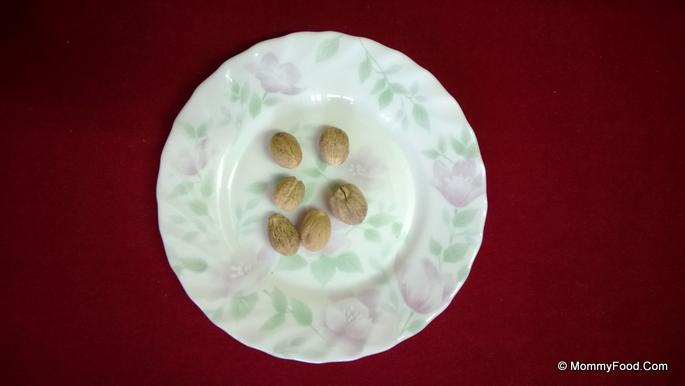
Jaji Kayi (Nutmeg): 1
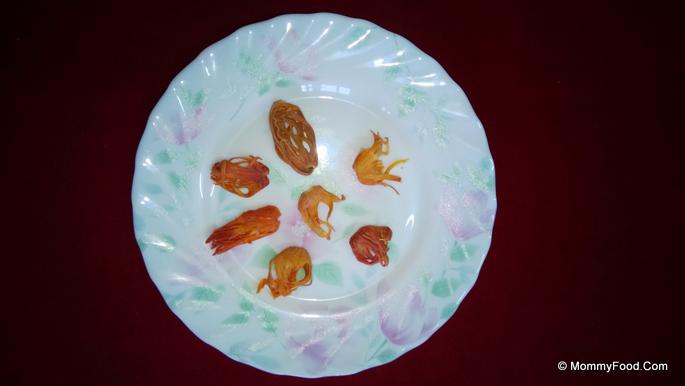
Marathi Moggu (Dried Capers): 5 or 6
Japatri (Mace): 2 or 3
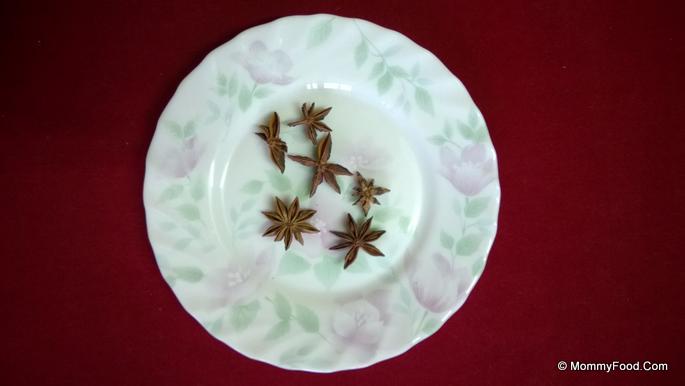
Anasa Puvvu (Star Anise): 2 or 3
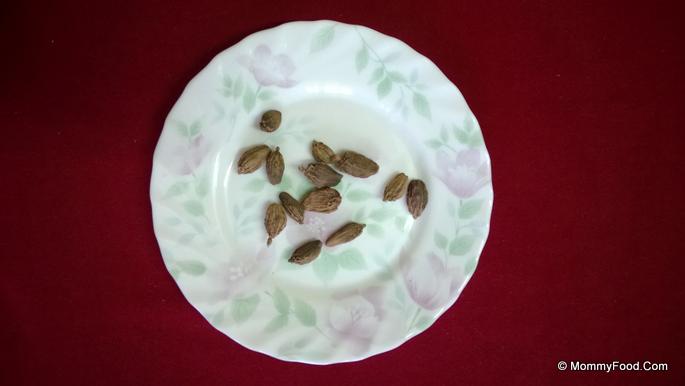
Nalla Yelukalu (Black Cardamom): 3
Toka Miriyalu (Long Pepper): 10
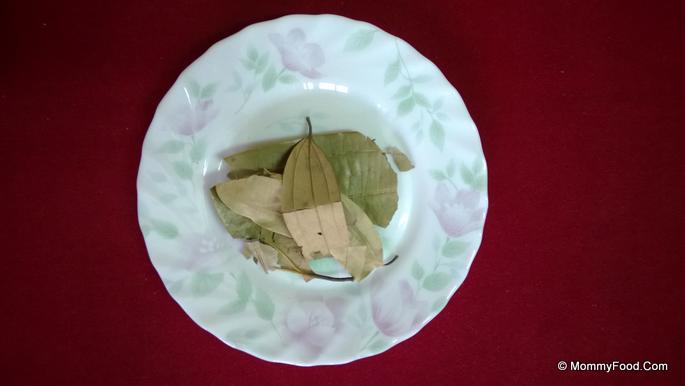
Biriyani Aaku (Bay Leaf): 2
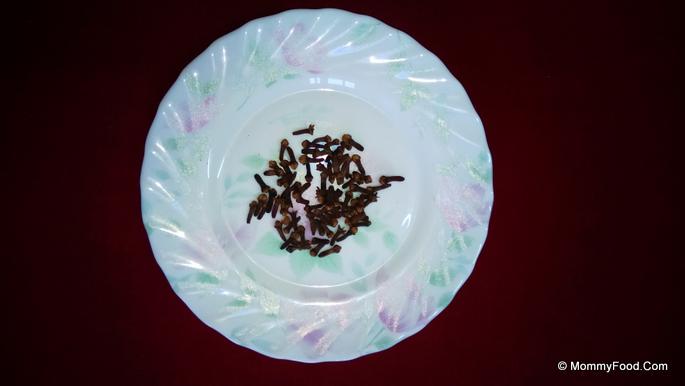
Lavangalu (Cloves): 15
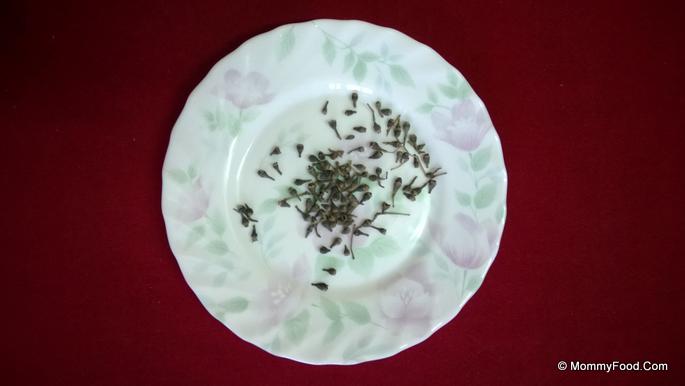
Yelukalu (Green Cardamom): 5
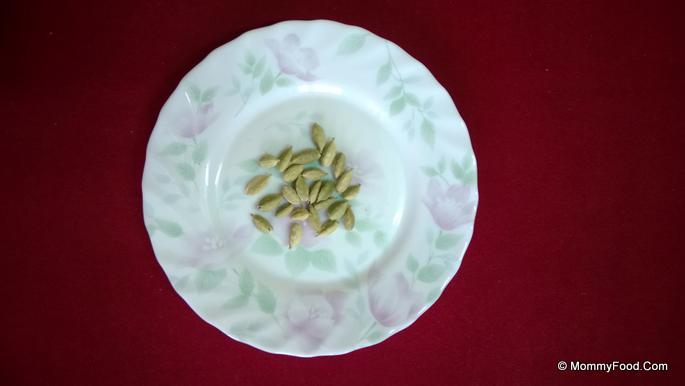
Dalchina Chakka (Cinnamon): 2 sticks
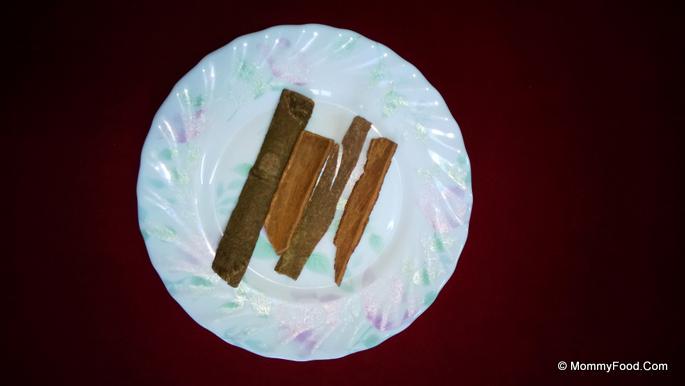
Seemsopu Ginjalu (Shahjeera, Caraway Seeds, Black Cumin Seeds): 1 teaspoon
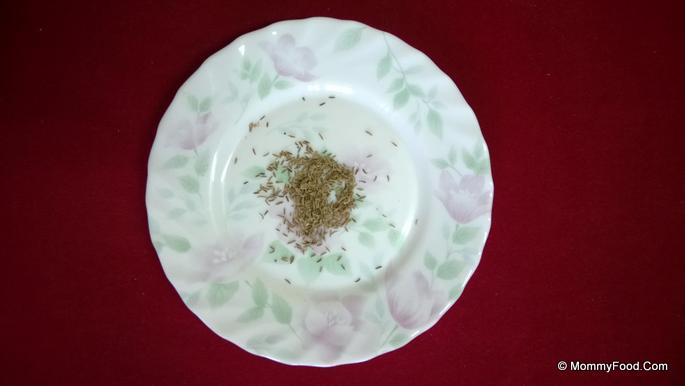
Salt: 4 teaspoons
Cloth (Kerchief):
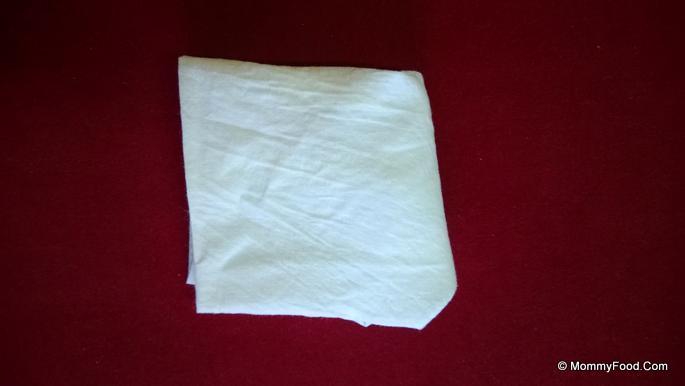
Procedure
Step 1: Marinate the Chicken
Clean the chicken pieces thoroughly. In a large bowl, add 1 teaspoon of Turmeric Powder, 2 teaspoons of Salt, 2 teaspoons of Red Chilli Powder, juice of half a lemon, 5 cloves, 1 stick of Cinnamon, 2 Green Cardamoms, and 2 teaspoons of Ginger Garlic Paste. Mix well to ensure the chicken is evenly coated with the spices.
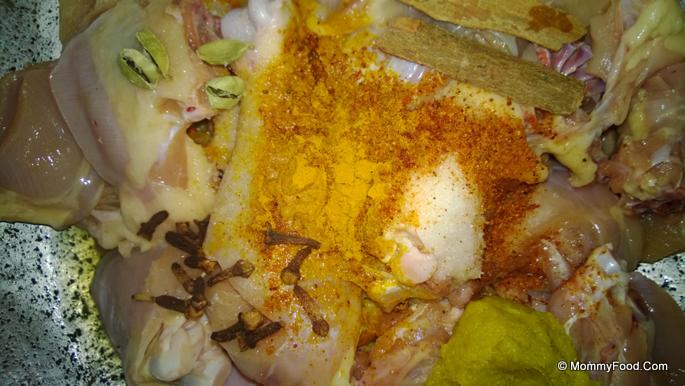
Step 2: Refrigerate the Marinated Chicken
Allow the chicken to marinate for at least 1 hour. For best results, refrigerate the marinated chicken to enhance the flavors.

Step 3: Prepare the Spice Blend
In a blender, add 1 stick of Cinnamon, 3 Green Cardamoms, 10 Cloves, 2 Bay Leaves, 10 Long Peppers, 3 Black Cardamoms, 2 Star Anises, 3 Mace pieces, 5 Dried Capers, 1 Nutmeg, and 1 teaspoon of Caraway Seeds.
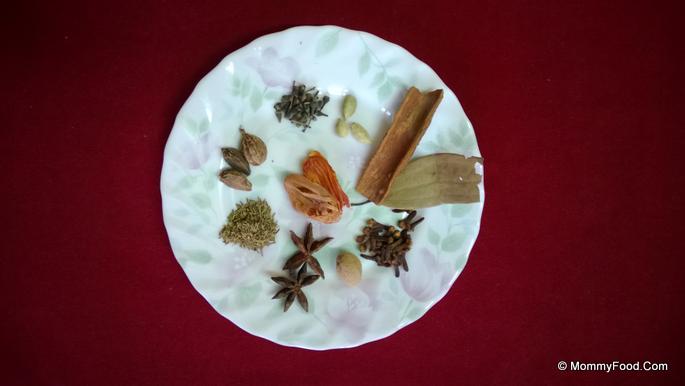
Step 4: Blend the Spices
Blend the spices once until they form a coarse powder. Avoid over-blending to maintain the texture.
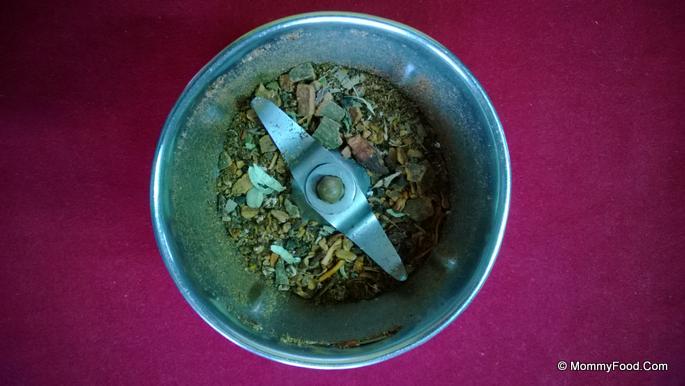
Step 5: Prepare the Masala Cloth
Transfer the blended spices to a clean cloth and tie it securely to form a masala cloth (Muta kattukovali).
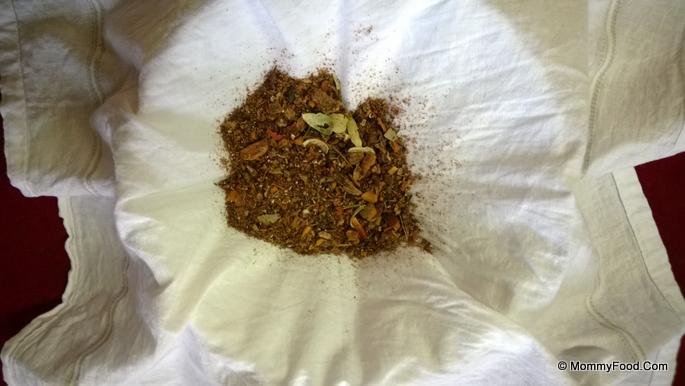
Step 6: Boil the Masala Cloth
Dip the masala cloth into 1 and 1/4 liters of water and bring it to a boil. Let it simmer for 10 to 15 minutes to extract the flavors.

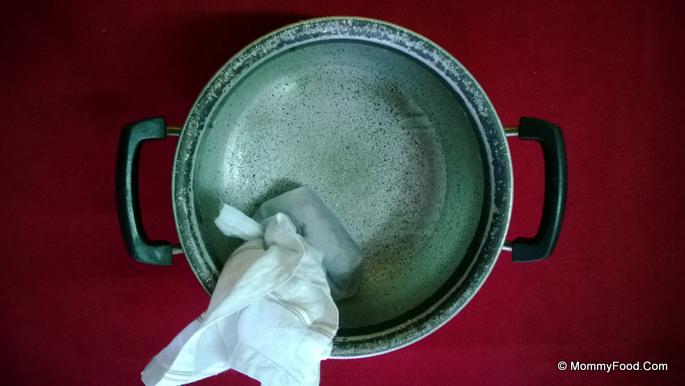
Step 7: Cook the Marinated Chicken
Cook the marinated chicken in a heavy-bottomed pan on low flame until the water evaporates completely. Do not add any additional water to ensure the chicken remains tender and juicy.
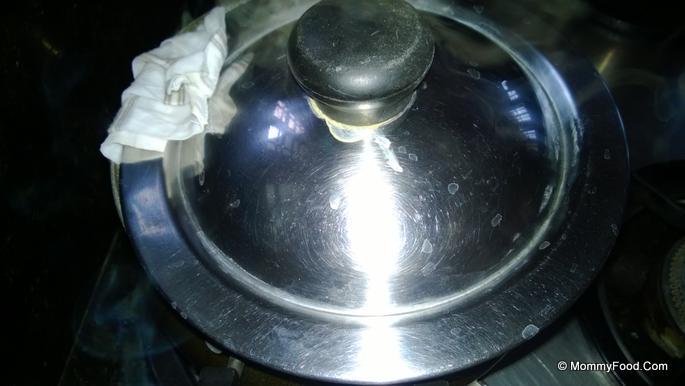
Step 8: Prepare the Garnishes
Slice the onions thinly, chop the coriander leaves, and cut the green chillies into small pieces. These will be used as garnishes and for layering the biryani.
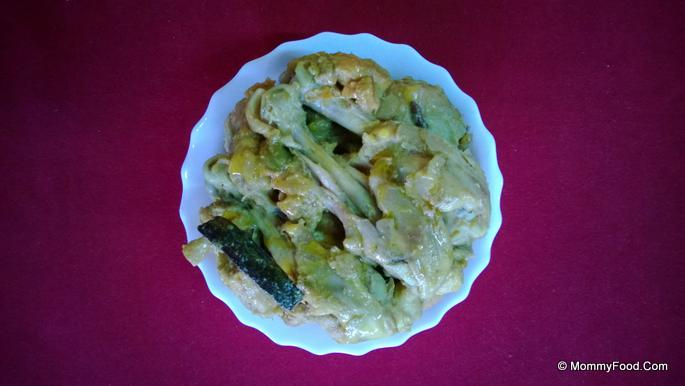
Step 9: Prepare the Rice
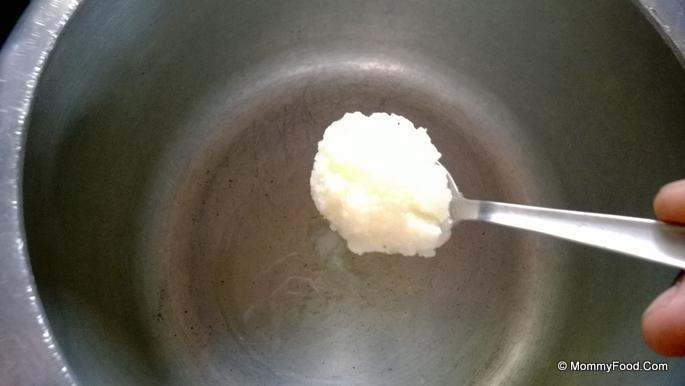
Clean 1/2 kg of rice thoroughly and add 2 teaspoons of Ghee into a pressure cooker.
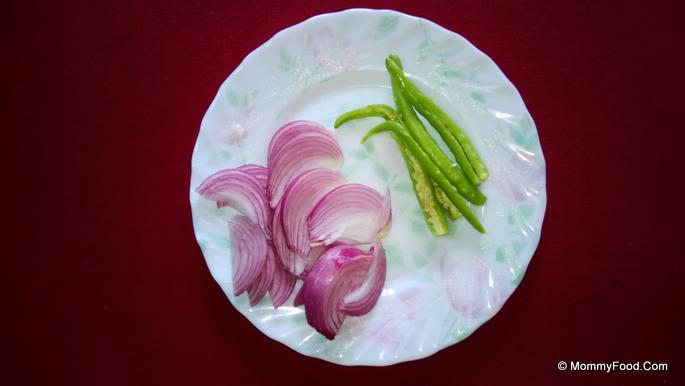
Step 10: Fry the Onions and Green Chillies
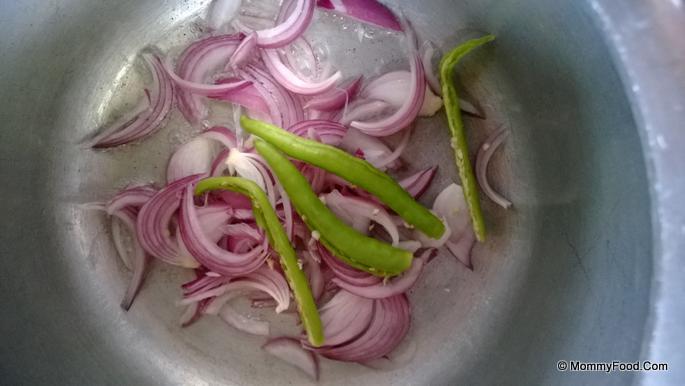
Fry the sliced onions and green chillies in the Ghee until they turn light golden brown. This step enhances the flavor and adds a crispy texture to the biryani.
Step 11: Add Ginger Garlic Paste
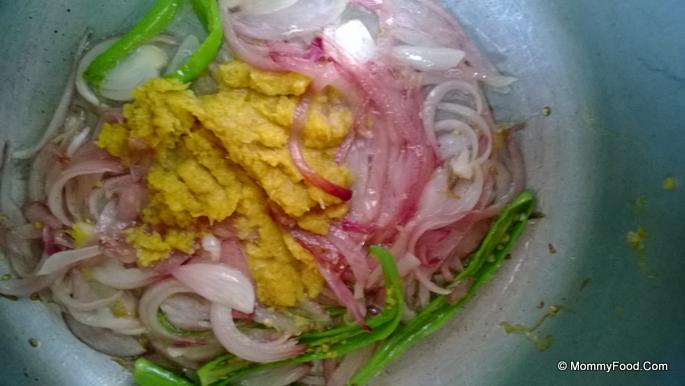
Add 2 teaspoons of Ginger Garlic Paste to the fried onions and green chillies. Sauté for a few minutes until the raw aroma disappears.
Step 12: Incorporate Fresh Herbs
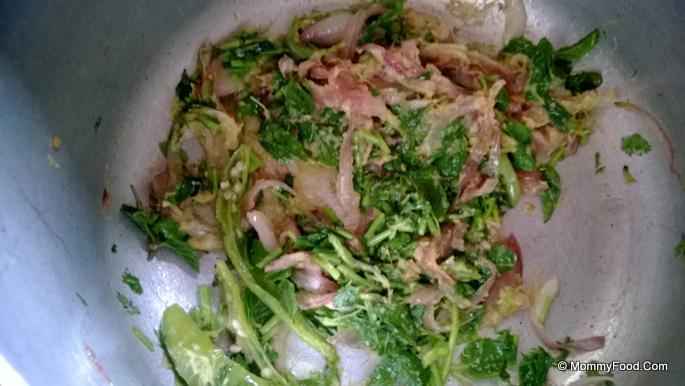
Incorporate the chopped Coriander Leaves and Mint Leaves into the cooker. These herbs add a refreshing flavor to the biryani.
Step 13: Add the Rice
Slowly add the cleaned rice to the cooker, mixing it well for about 2 minutes to ensure the rice is evenly coated with the spices and herbs.
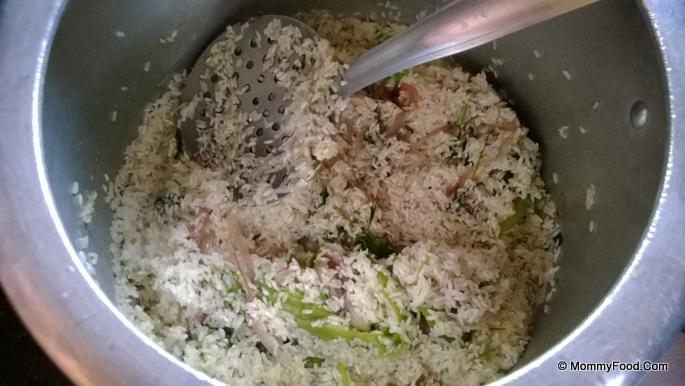
Step 14: Combine Chicken with Rice
Add the cooked chicken to the rice mixture and gently mix to combine all the ingredients thoroughly.
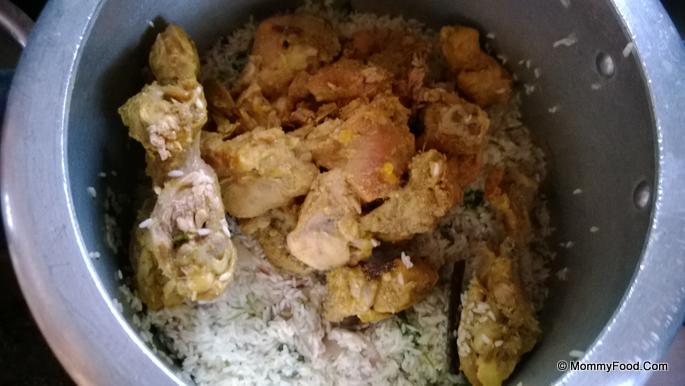
Step 15: Add Masala Water
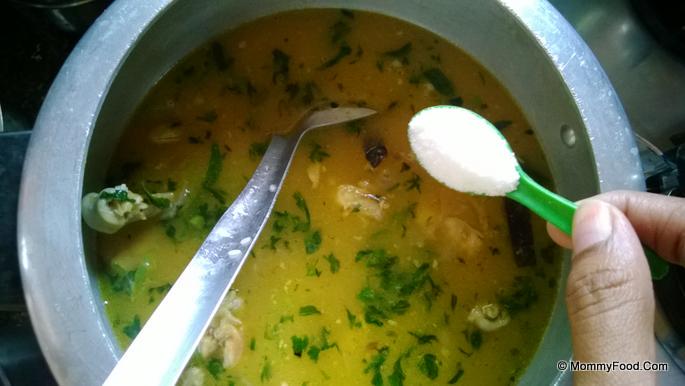
Remove the masala cloth from the masala water and squeeze it to extract all the flavorful liquid. Add this masala water to the cooker to enhance the biryani's taste.
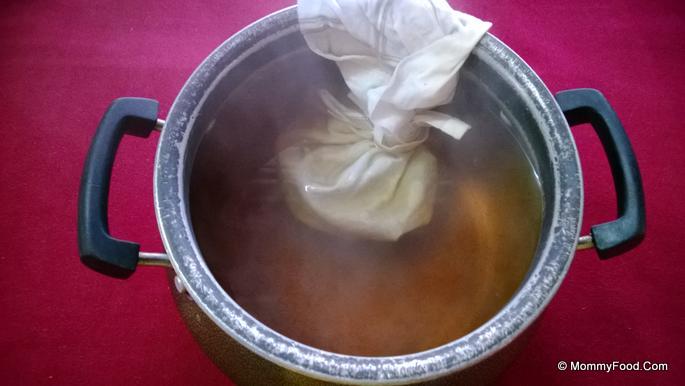
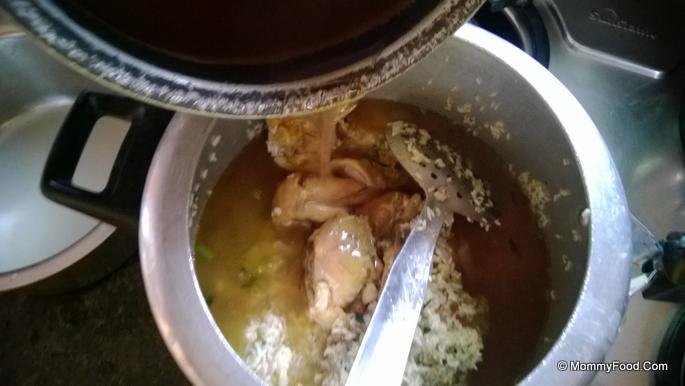
Step 16: Season and Cook
Taste the biryani to check if the salt level is adequate. Add more salt if necessary. Close the cooker and cook on high flame.
Step 17: Final Cooking and Serving
After the first whistle, turn off the flame just before the second whistle begins. Allow the biryani to rest for a few minutes before serving.
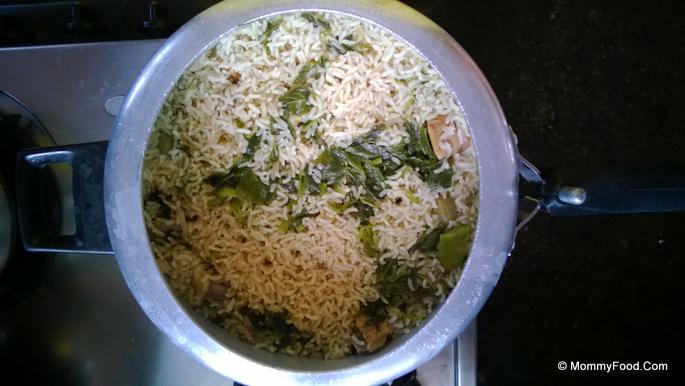
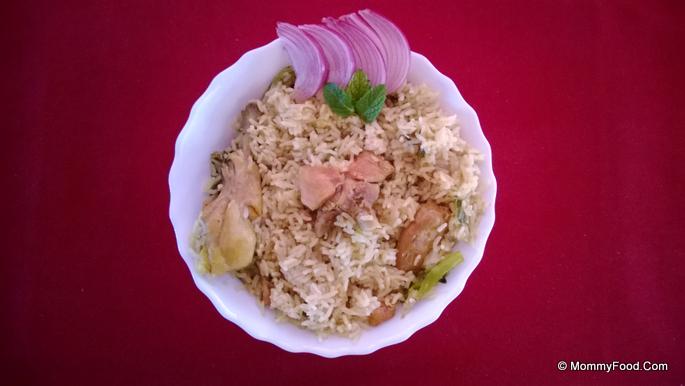
Enjoy your Very Tasty, Mildly Spicy Chicken Biryani, perfect for a hearty meal with family and friends. Its balanced flavors and wholesome ingredients make it a delightful dish that everyone will love.
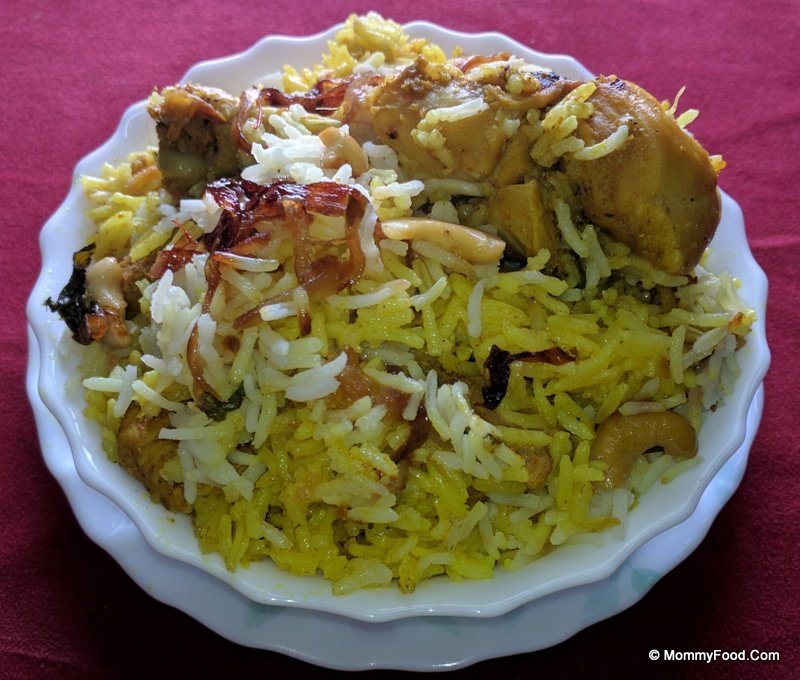
As per many of your requests, we have also prepared a restaurant-style biryani. The cooking time is slightly longer, but it is well worth the wait. If you are deciding which version to choose, we highly recommend the Special Chicken Biryani Version 2.0. Try it and let us know your thoughts. Click the image below to see the step-by-step procedure.
Like our recipes? You want us to do more?
Keep us running! Buy from our affiliate store:
US | Amazon Best Sellers & Deals
India | Amazon Best Sellers & Deals








Comments powered by CComment