Venna Undalu
Recipe prepared by Smt Jhansi Lakshmi
*****
Article written by Lakshmi Aparna
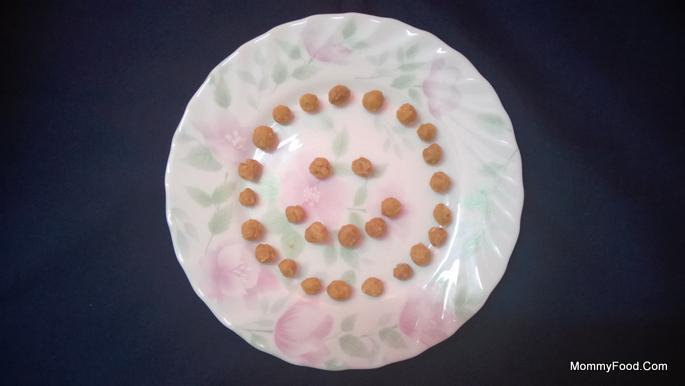
Welcome to our delightful recipe for Venna Undalu, a beloved traditional Telugu sweet known for its rich flavor and satisfying texture. Perfect for festivals, celebrations, or simply as a special treat, Venna Undalu brings a touch of sweetness and tradition to any occasion. Follow our step-by-step guide to create these delicious sweet balls that are sure to impress your family and friends.
Preparation time: 30 minutes
Cooking time: 30 minutes
Yield: 1 & 1/2 kg
Quick Navigation:
- Ingredients
- Procedure
- Step 1: Preparing the Dough
- Step 2: Adding Liquids to Form Dough
- Step 3: Storing and Shaping the Dough
- Step 4: Heating the Oil for Frying
- Step 5: Preparing the Sugar Syrup
- Step 6: Frying the Dough Balls
- Step 7: Checking the Syrup Consistency
- Step 8: Combining Fried Balls with Syrup
- Step 9: Cooling the Sweet
- Step 10: Storing the Venna Undalu
Ingredients
Maida Pindi (All-purpose Flour): 1 kg
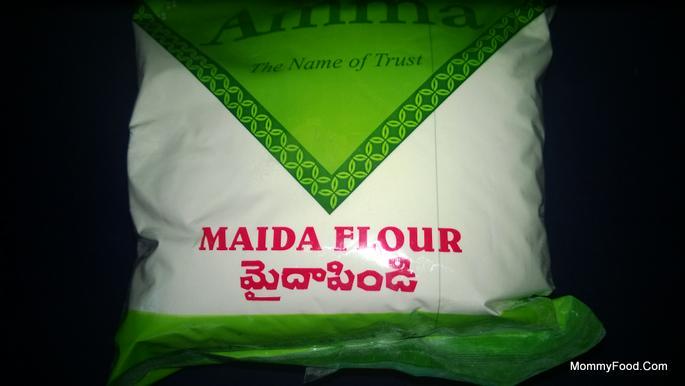
Vennapoosa (Cooking Butter): 300 grams (Unsalted)
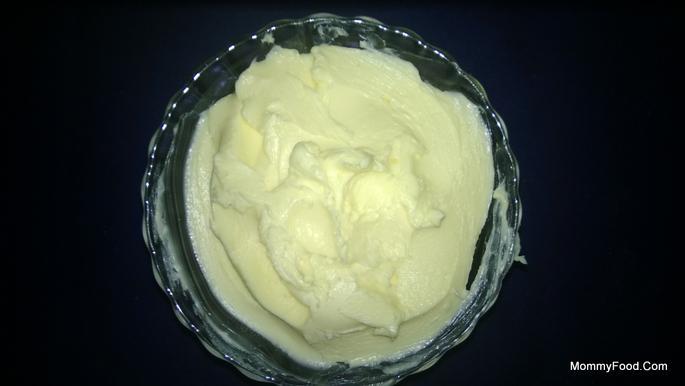
Nune (Oil): For frying
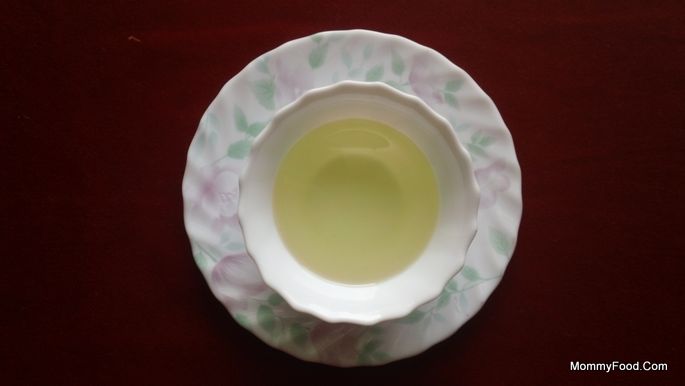
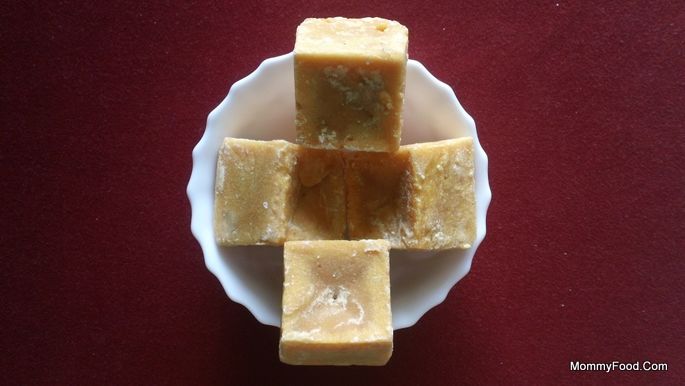
Bellam (Jaggery): 1 kg
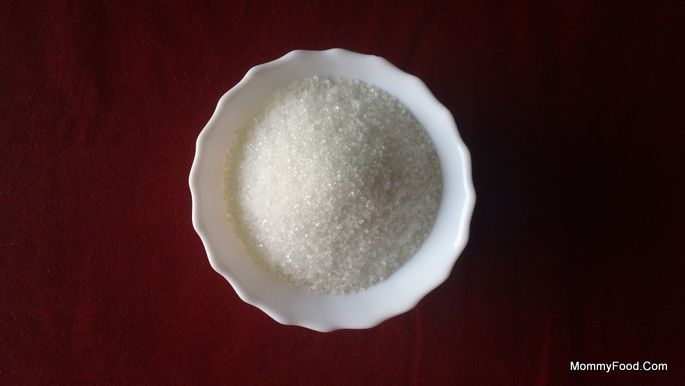
Panchadara (Sugar): 250 grams
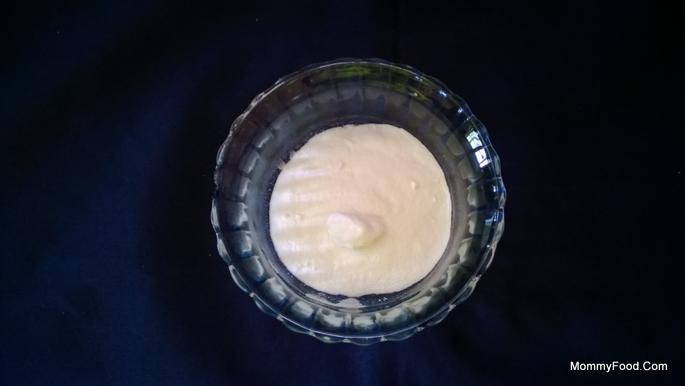
Neeru (Water): 500 ml

Soda Uppu (Baking Soda): 1 tsp
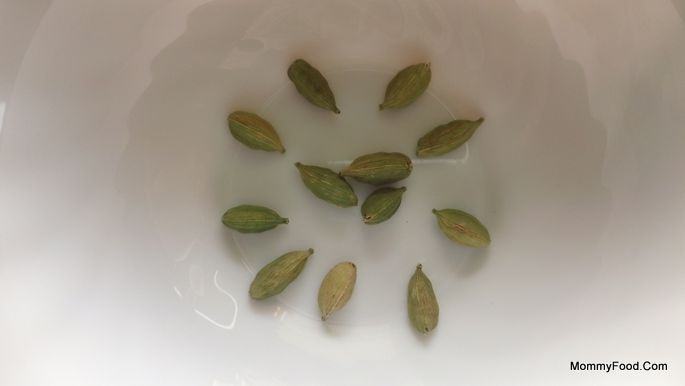
Yelukalu (Cardamom): 5 pods
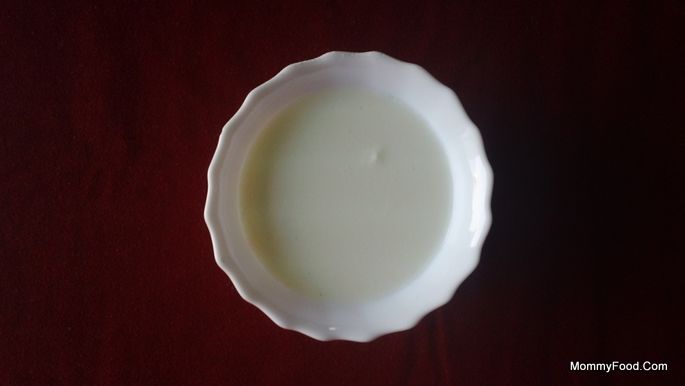
Paalu (Milk): 250 ml
Procedure
Step 1: Preparing the Dough
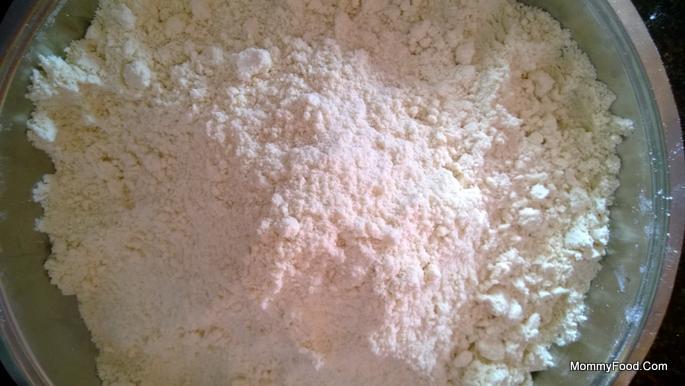
In a large mixing basin, combine 1 kg of Maida (all-purpose flour) with 1 teaspoon of Soda Uppu (baking soda). Mix thoroughly to ensure the baking soda is evenly distributed throughout the flour. Next, add 300 grams of Vennapoosa (unsalted cooking butter) to the mixture. Blend the butter into the flour until the mixture becomes crumbly and well-integrated, laying the foundation for a rich and smooth dough.
Step 2: Adding Liquids to Form Dough
Gradually incorporate approximately 250 ml of lukewarm boiled Paalu (milk) and 250 ml of Neeru (water) into the flour and butter mixture. Stir continuously to combine the liquids evenly, forming a soft and pliable dough. The dough should be softer than chapati dough, allowing for easy shaping and handling.
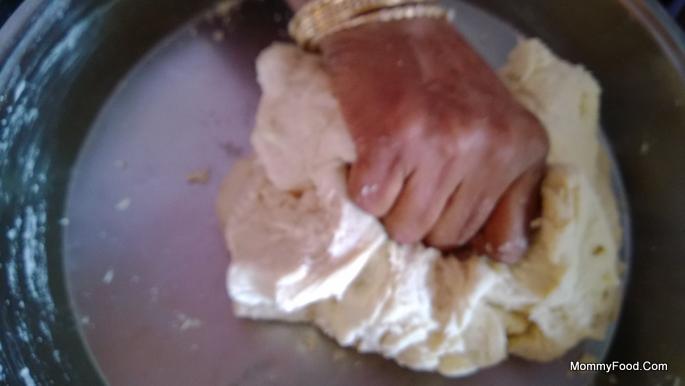
The dough should have a smooth and elastic texture, making it easy to roll into small balls without sticking.
Step 3: Storing and Shaping the Dough
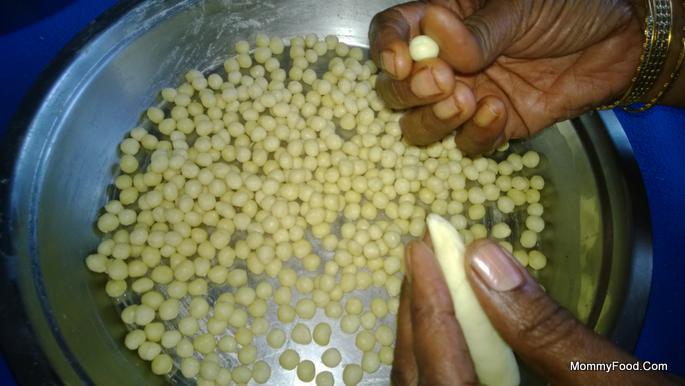
Transfer the prepared dough into a closed container to prevent it from drying out. When ready to proceed, take a small portion of the dough and roll it into tiny balls using your fingers. Each ball should be approximately the size of a peanut, ensuring that there is enough space inside for the sweet filling.
Step 4: Heating the Oil for Frying
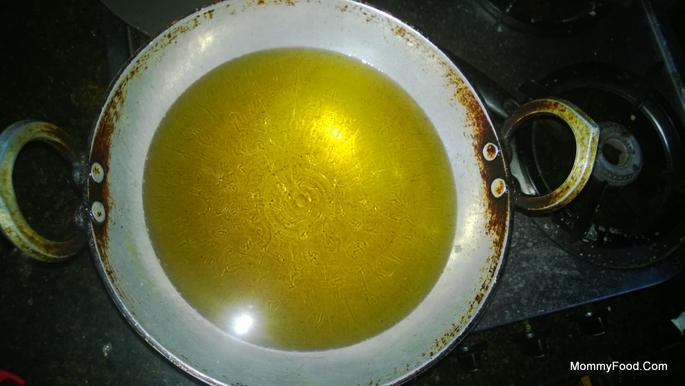
Pour Neeru (oil) into a deep frying pan, filling it to about halfway. Heat the oil on medium flame until it reaches the optimal frying temperature. Proper oil temperature is crucial to ensure that the dough balls fry evenly and achieve a golden brown color without absorbing excess oil.
Step 5: Preparing the Sugar Syrup
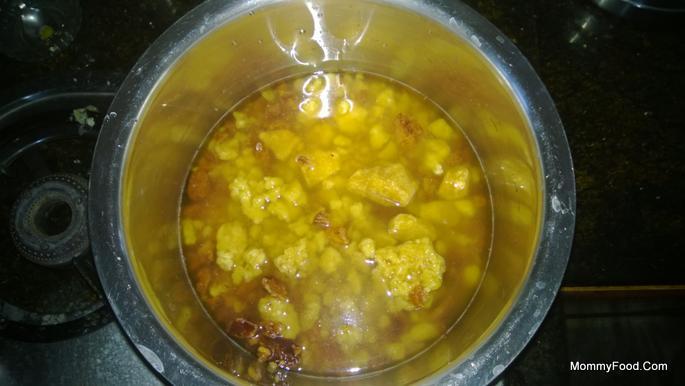
In a thick-bottomed vessel, combine 250 ml of Neeru (water), 1 kg of Bellam (jaggery), and 250 grams of Panchadara (sugar). Add the 5 Yelukalu (cardamom) pods to the mixture for added flavor. Bring the mixture to a boil, stirring continuously to prevent it from sticking to the bottom. The thick base of the vessel helps in achieving the right consistency for the syrup.
Step 6: Frying the Dough Balls
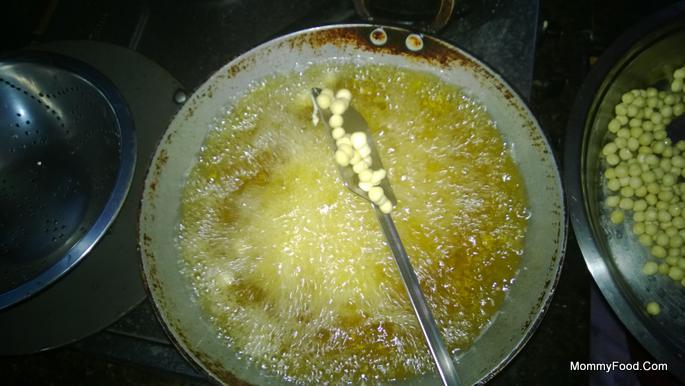
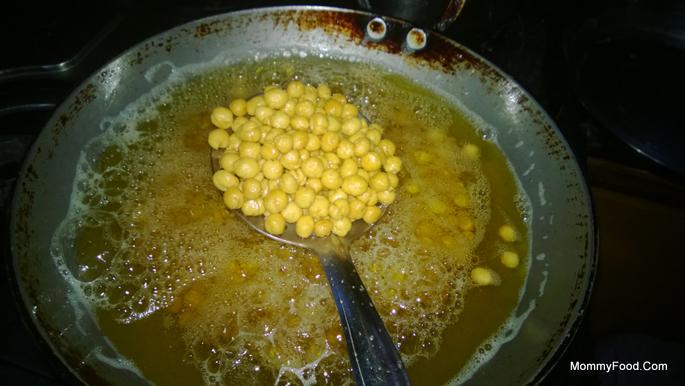
Once the oil is adequately heated, carefully add the prepared dough balls to the pan using a spatula (atalkada). Fry them slowly, ensuring that they cook evenly and attain a uniform golden brown color. The butter in the dough will help the balls to achieve a crisp exterior while remaining soft inside.
Step 7: Checking the Syrup Consistency
To ensure the sugar syrup has reached the desired thickness, drop a small quantity of the syrup onto a plate filled with water. If the syrup forms a thick coating and doesn’t spread too quickly, it is ready to coat the fried dough balls effectively.
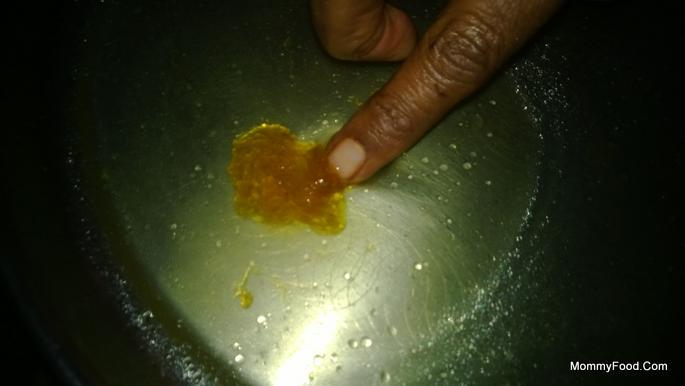
Step 8: Combining Fried Balls with Syrup
Turn off the flame and gently add the fried dough balls into the thickened sugar syrup. Stir carefully to ensure each ball is thoroughly coated with the syrup, absorbing the sweetness while maintaining their crispy texture.
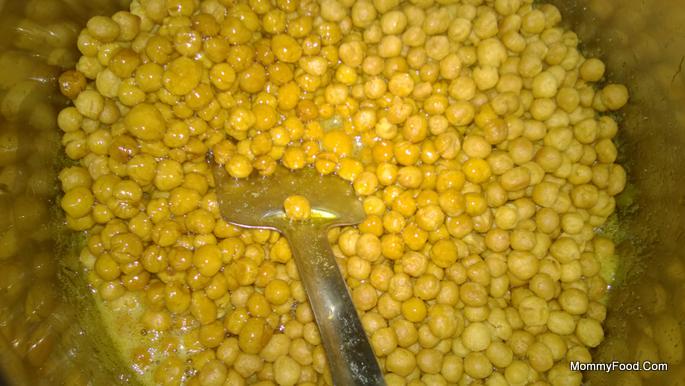
Step 9: Cooling the Sweet
Transfer the syrup-coated balls onto a flat plate, spreading them out evenly to cool. Allowing the Venna Undalu to cool completely ensures that the syrup sets properly, giving the sweet its characteristic chewy and glossy finish.
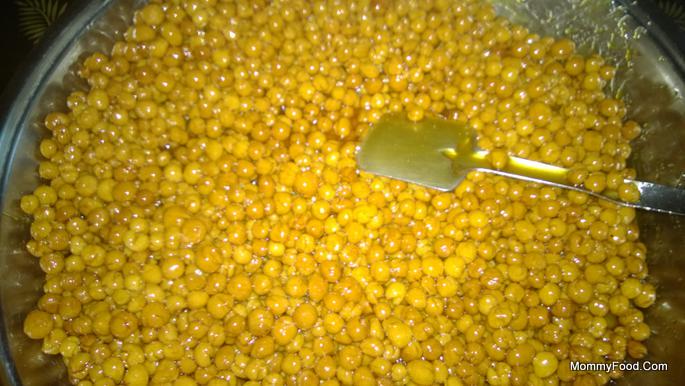
Step 10: Storing the Venna Undalu
Once cooled, place the Venna Undalu into an airtight container to maintain freshness. Stored properly, these delightful sweet balls can be enjoyed for up to 10 days, making them a convenient and tasty option for any time you crave a traditional treat.
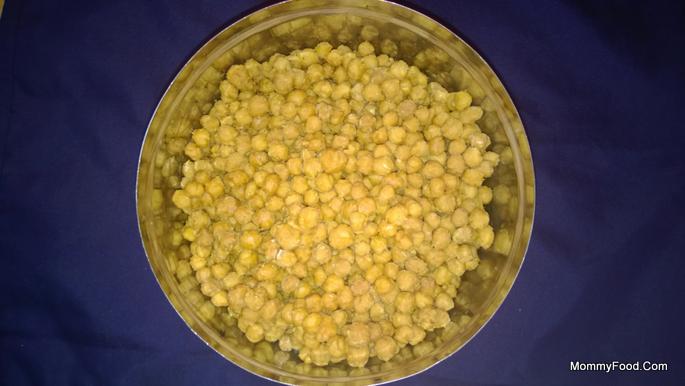

Enjoy your homemade Venna Undalu with family and friends, and relish the authentic taste of this traditional Telugu sweet. Whether for a special occasion or a simple treat, Venna Undalu is sure to bring joy and sweetness to your table.
Like our recipes? You want us to do more?
Keep us running! Buy from our affiliate store:
US | Amazon Best Sellers & Deals
India | Amazon Best Sellers & Deals







Comments powered by CComment