Boondi Laddu
Recipe prepared by Smt Mani Kumari
*****
Article written by Lakshmi Aparna
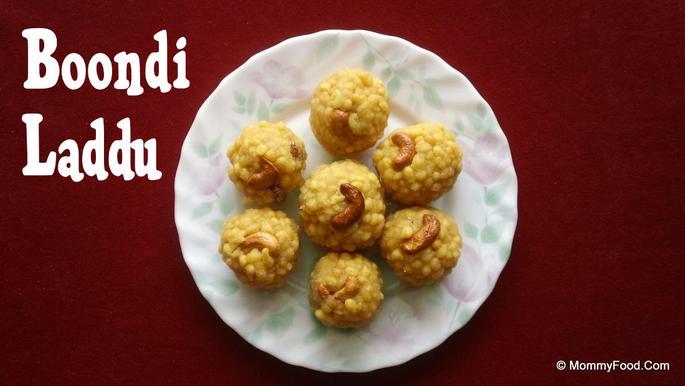
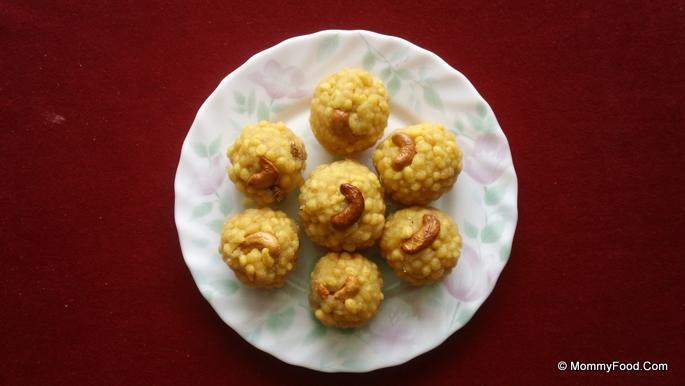
Boondi Laddu is a quintessential Indian sweet that holds a special place in festive celebrations and joyous occasions. This delightful treat, made from tiny fried gram flour droplets soaked in sugar syrup, offers a perfect balance of sweetness and texture. Whether you're preparing for a festival, a wedding, or simply craving something sweet, Boondi Laddu is an excellent choice that brings smiles to everyone’s faces.
Preparation Time: 5 minutes
Cooking Time: 60 minutes
Yield: 40 medium-sized laddus
Shelf Life: 7-10 days
Quick Navigation:
- Ingredients
- Procedure
- Step 1: Prepare the Sugar Syrup
- Step 2: Prepare the Gram Flour Paste
- Step 3: Fry the Boondi
- Step 4: Combine Boondi with Sugar Syrup
- Step 5: Prepare the Nuts and Raisins
- Step 6: Final Assembly of Boondi Laddu
Ingredients
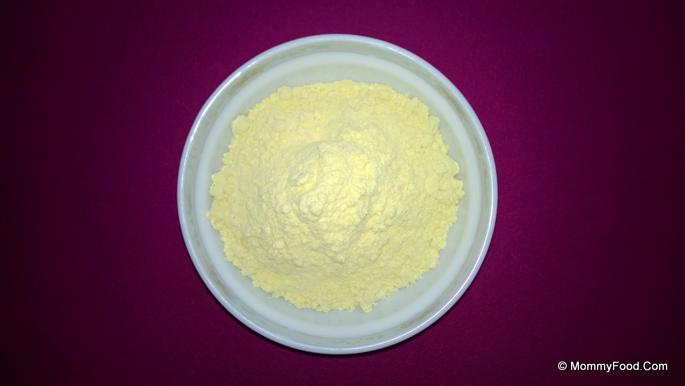
Senagapindi (Gram Flour): 1/2 Kg
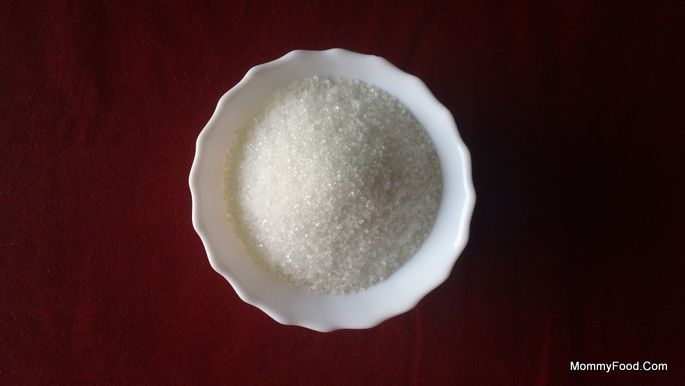
Panchadara (Sugar): 1 Kg
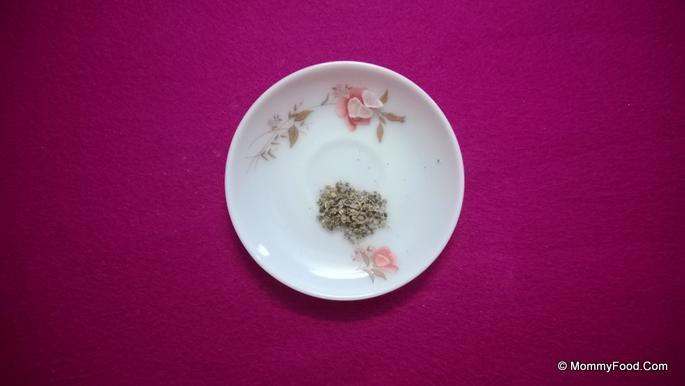
Yelukala Podi (Elaichi Powder), Pacha Karpooram (Edible Camphor): 1 tsp, 1 pinch
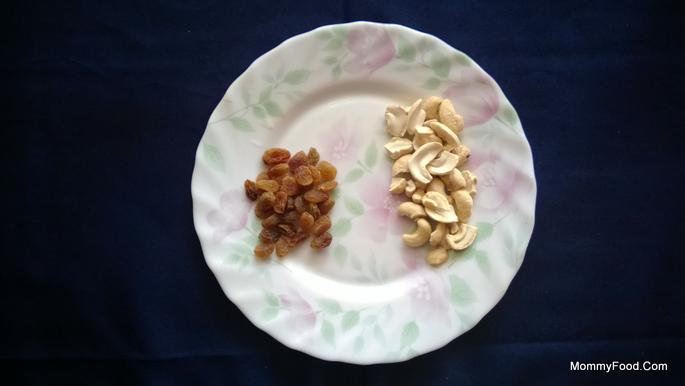
Jeedipappu (Cashew): 50 grams
Kismis (Raisins): 50 grams
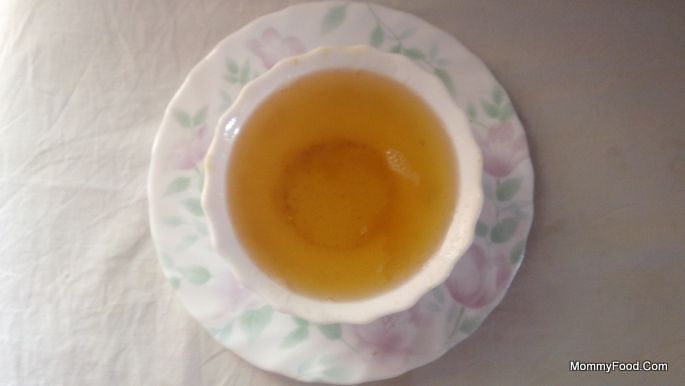
Oil: For Frying
Ghee: 1 tsp
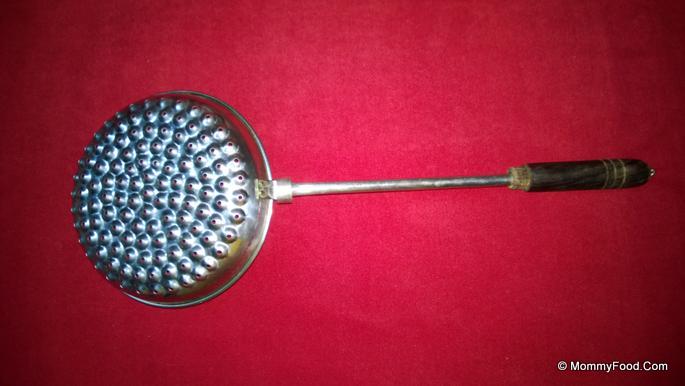
Boondi Apaka: For making boondi
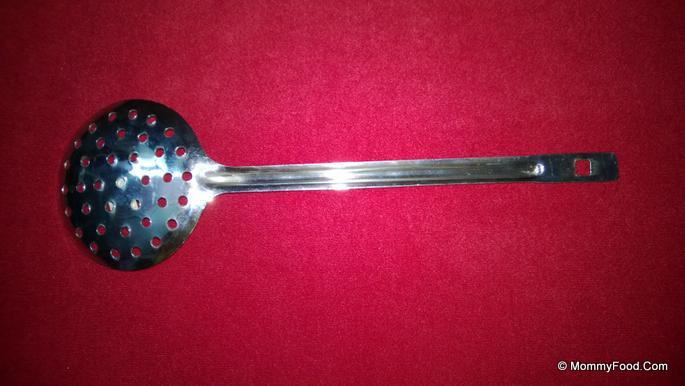
Apaka (Strainer): For removing fried boondi
Procedure
Step 1: Prepare the Sugar Syrup
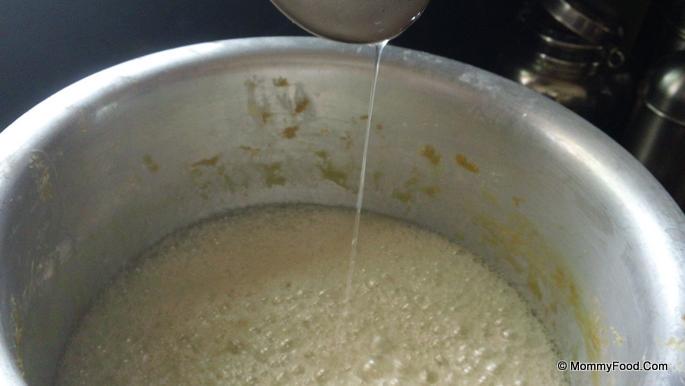
In a large pan, combine 1 kg of sugar with 1 glass of water. Heat the mixture over a medium flame, stirring continuously until it reaches a light syrup consistency, also known as Theega Paakam Ravali. This process typically takes about 60 minutes. Once the syrup is ready, remove it from the flame to prevent further cooking.
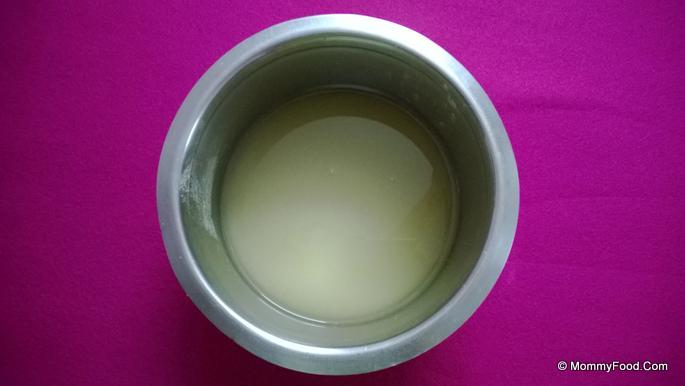
The syrup should have a slightly thick consistency, indicating that it's ready to absorb the boondi.
Step 2: Prepare the Gram Flour Paste
In a separate bowl, take 1/2 kg of gram flour (Senagapindi) and gradually add water to form a loose, smooth paste (Palchaga Vundali). Ensure there are no lumps in the mixture for uniform boondi formation.
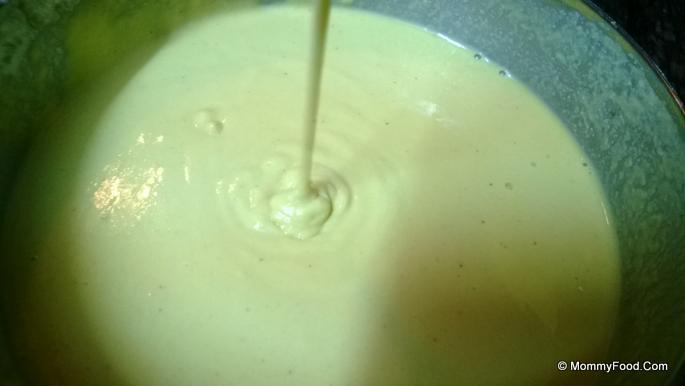
Heat sufficient oil in a deep frying pan until it reaches the ideal temperature for frying.
Step 3: Fry the Boondi
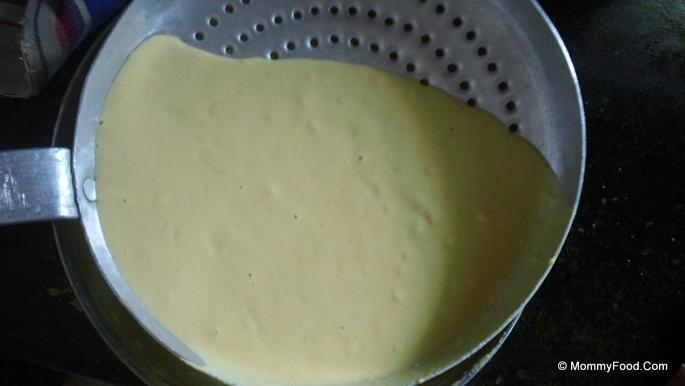
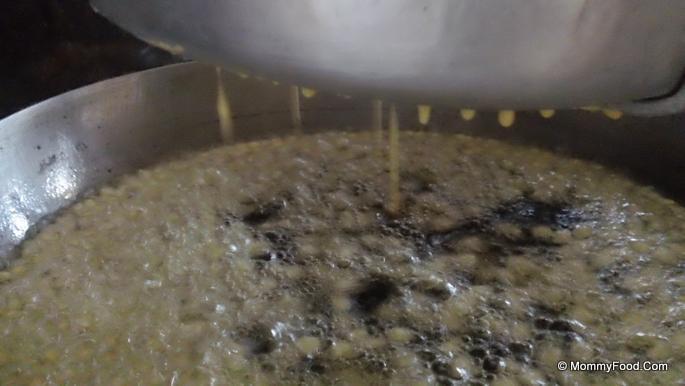
Using the Boondi Apaka with a long spoon, carefully pour the gram flour paste into the hot oil in small droplets. Fry the droplets until they turn a golden yellow color (Pachigane Vundali), ensuring they are crispy and evenly cooked.
Step 4: Combine Boondi with Sugar Syrup
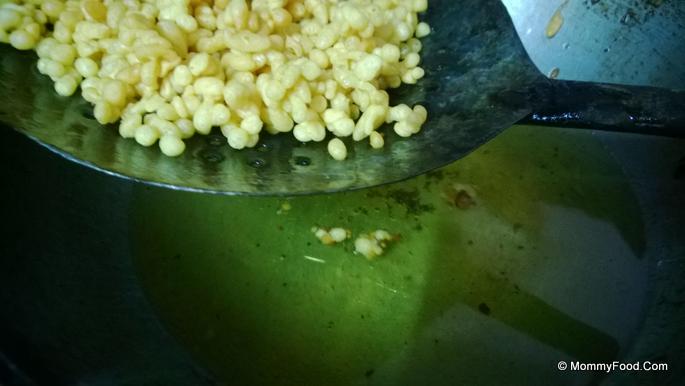
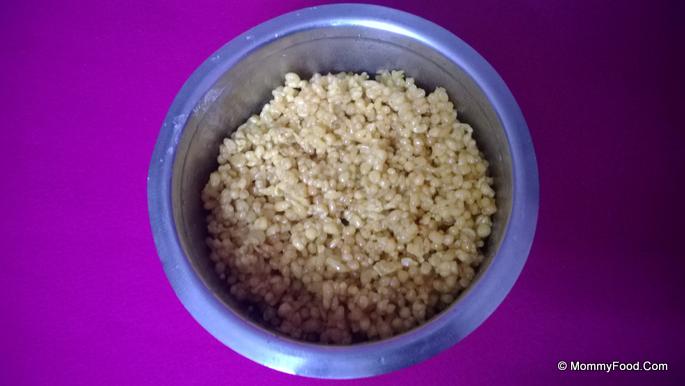
Once the boondi is fried, immediately remove it from the oil using a strainer and transfer it into the prepared sugar syrup (Paakam). Quickly mix the boondi with the syrup to ensure that each droplet is well-coated.
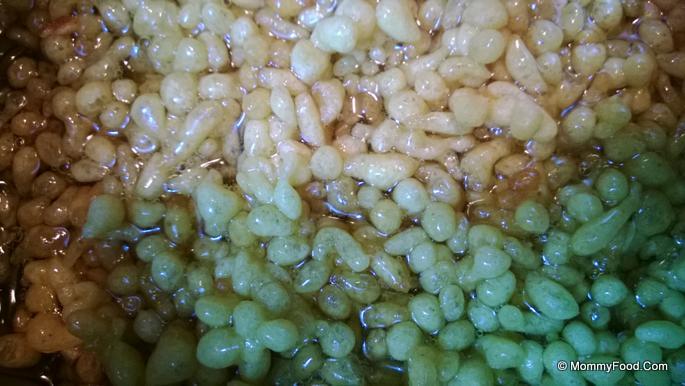
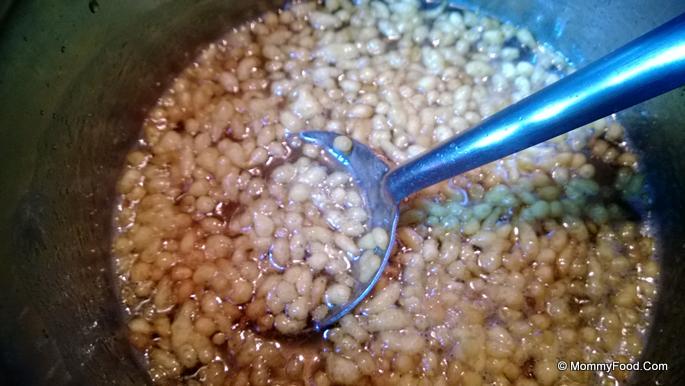
Continue mixing the boondi and syrup thoroughly to ensure an even distribution of sweetness.
Step 5: Prepare the Nuts and Raisins
After the boondi and syrup mixture is well combined, set it aside to cool slightly. In a small pan, heat 1 teaspoon of ghee and fry the cashews and raisins until they become golden brown. This adds a delightful crunch and rich flavor to the laddus.
Step 6: Final Assembly of Boondi Laddu
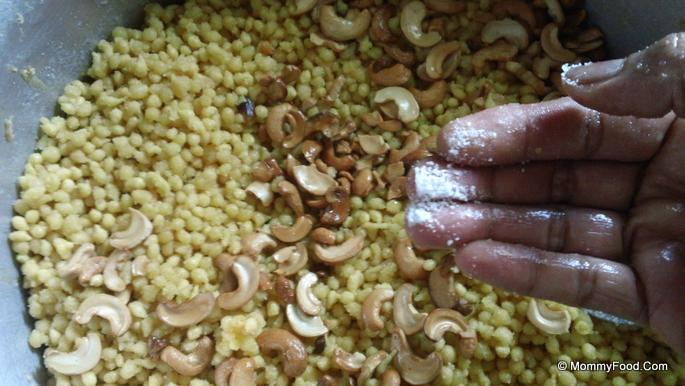
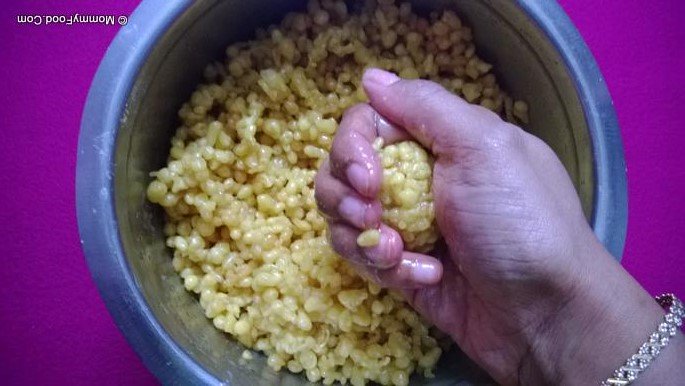
Add 1 pinch of edible camphor (Pacha Karpooram) and 1 teaspoon of elaichi powder (Yelukala Podi) to the boondi mixture. Incorporate the fried cashews and raisins, mixing everything thoroughly. Once all ingredients are well combined, shape the mixture into round laddus by hand without pressing too hard.
Continue shaping the laddus until all the mixture is used up.
Very Sweet and Tasty Boondi Laddu is Ready!
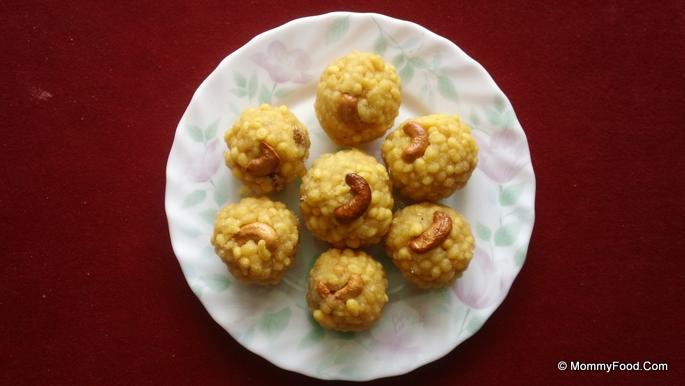
Enjoy your homemade Boondi Laddu as a delightful sweet treat that brings joy and sweetness to any occasion. This traditional recipe is sure to impress your family and guests with its rich flavors and charming appearance.
Like our recipes? You want us to do more?
Keep us running! Buy from our affiliate store:
US | Amazon Best Sellers & Deals
India | Amazon Best Sellers & Deals







Comments powered by CComment