Thotakura Cutlet | Amaranthus Cutlet | Chauli Cutlet | Chalai Cutlet | Kuppai Keerai Cutlet | Dantina Soppu Cutlet
Recipe prepared by Smt Jhansi Lakshmi
*****
Article written by Lakshmi Aparna
Introduction
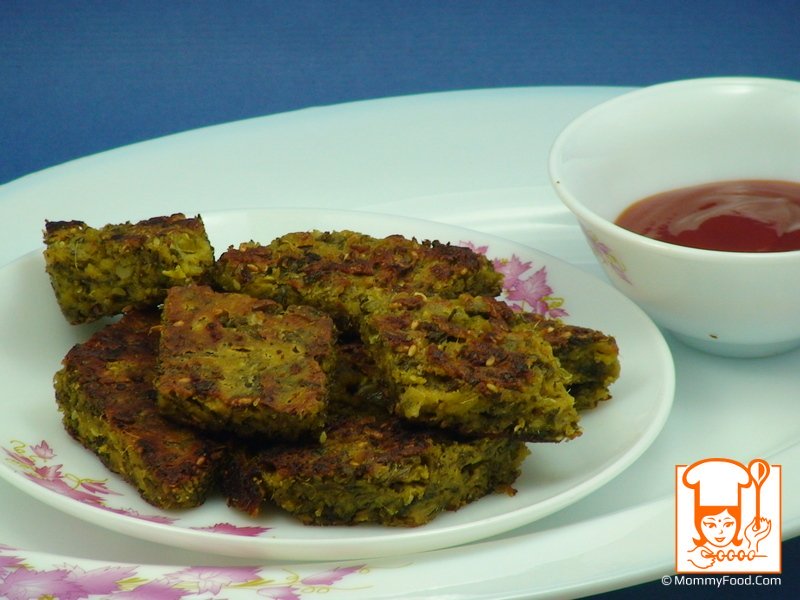
Thotakura cutlet, or amaranthus cutlet, is a healthy and delicious snack made with nutrient-rich amaranth leaves. This cutlet is a great way to incorporate leafy greens into your diet, especially for kids who might not enjoy traditional green leafy dishes. The cutlets are steamed and shallow-fried, making them a healthier alternative to deep-fried snacks. Amaranthus leaves are packed with essential vitamins and minerals, making this a nutritious treat. Let?s walk through the step-by-step process of making this tasty and wholesome snack.
Preparation time: 15 minutes
Cooking time: 30 minutes
Main ingredient: Amaranthus
Course: Snack
Yield: 15-20 Cutlets
1 Bowl measurement: 250 ml
Shelf life: 2 days (in freezer)
Quick Navigation:
- Ingredients
- Procedure
- Step 1: Clean the Amaranth Leaves
- Step 2: Chop the Leaves
- Step 3: Grease the Cooking Bowl
- Step 4: Prepare the Mixture
- Step 5: Add the Spices
- Step 6: Add the Besan Flour
- Step 7: Spread the Mixture in a Bowl
- Step 8: Steam the Mixture
- Step 9: Let it Cool and Cut into Shapes
- Step 10: Shallow Fry the Cutlets
- Serving Suggestions
Ingredients
Here are the ingredients you'll need to prepare these healthy amaranthus cutlets:
Amratanthus (thotakura): 2 Bowls
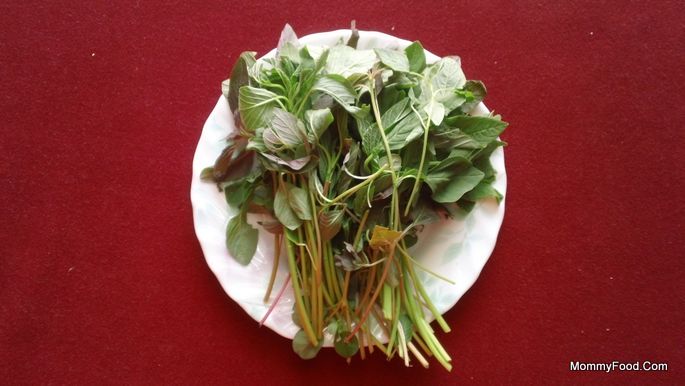
Ginger garlic paste: 2 tsp
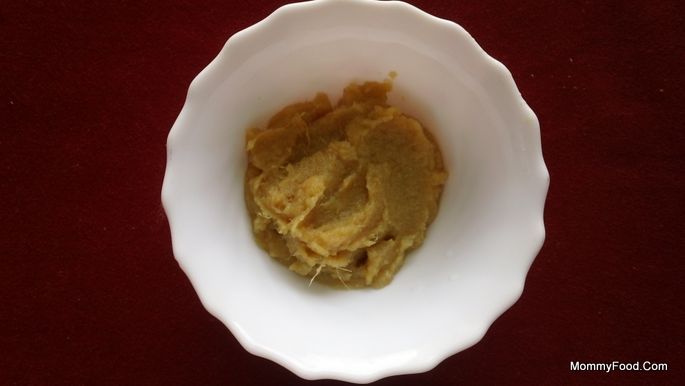
Besan flour: 1 Bowl
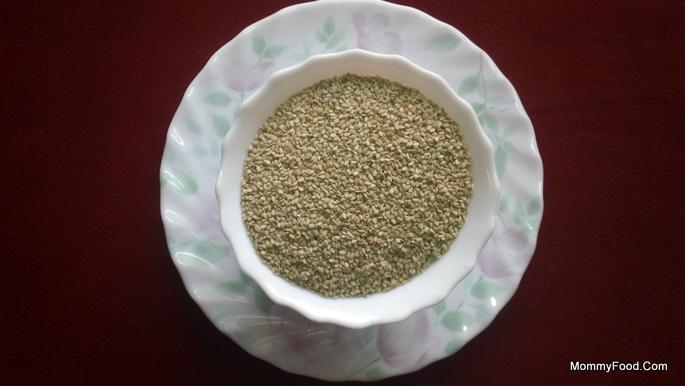
Sesame seeds: 1-2 tsp
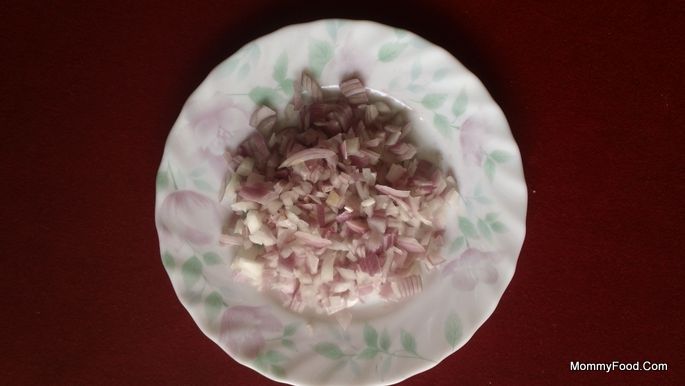
Onion, chopped: 1/2 Bowl
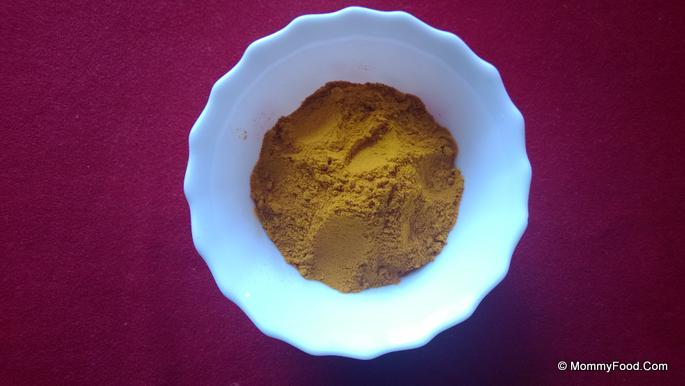
Turmeric powder: 1/4 tsp
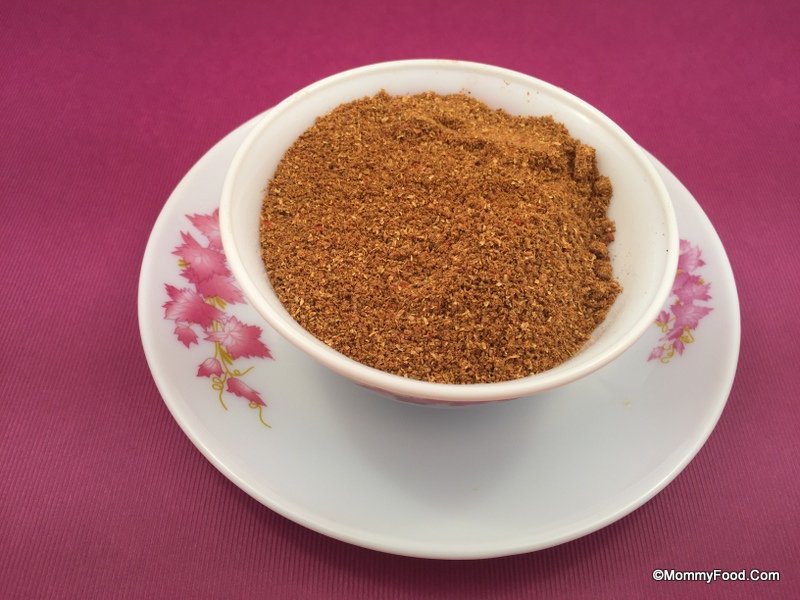
Garam masala: 1 tsp
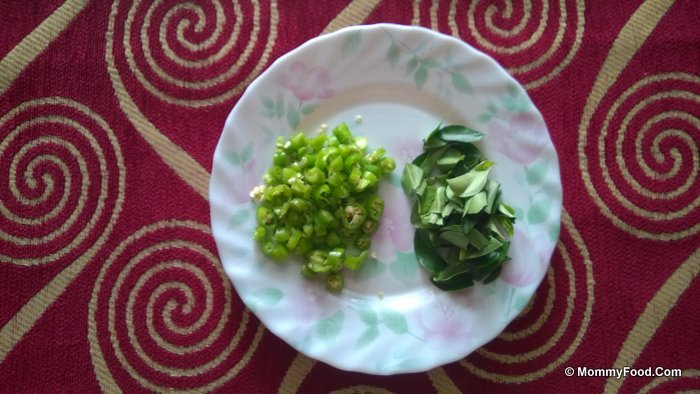
Chopped green chillies and curry leaves: A few
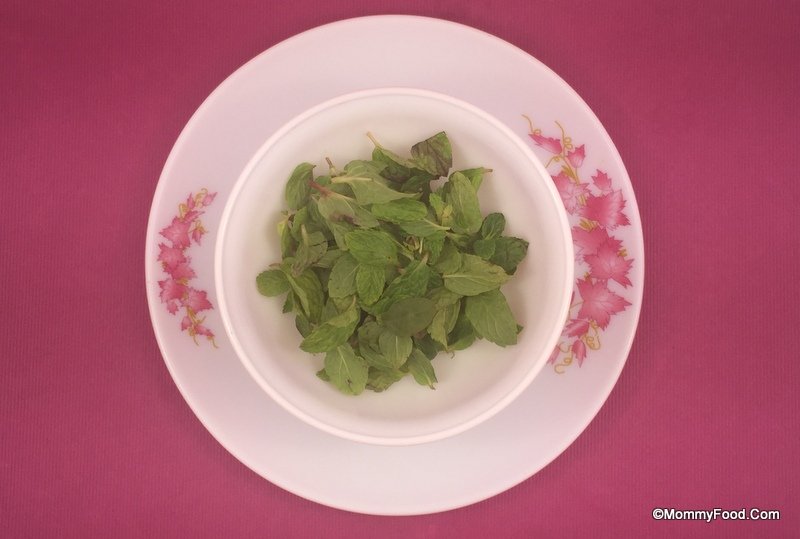
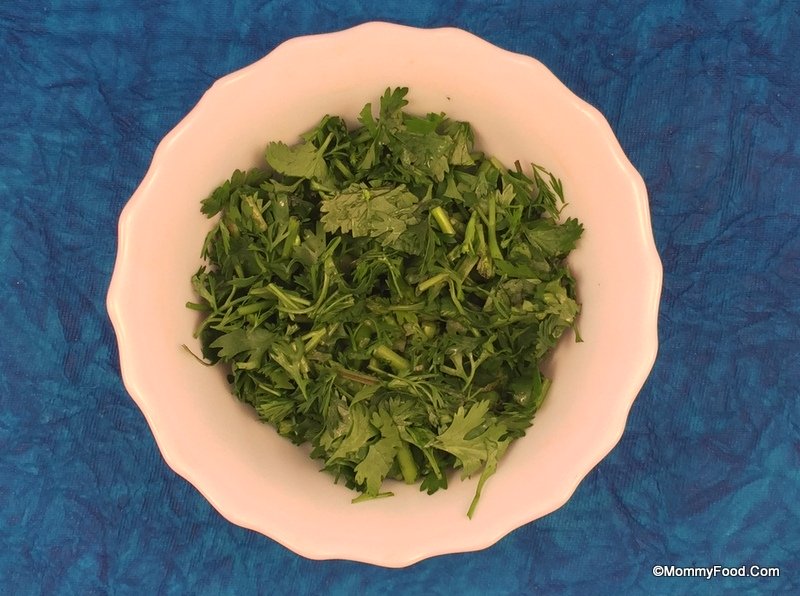
Chopped mint leaves and coriander leaves: A few
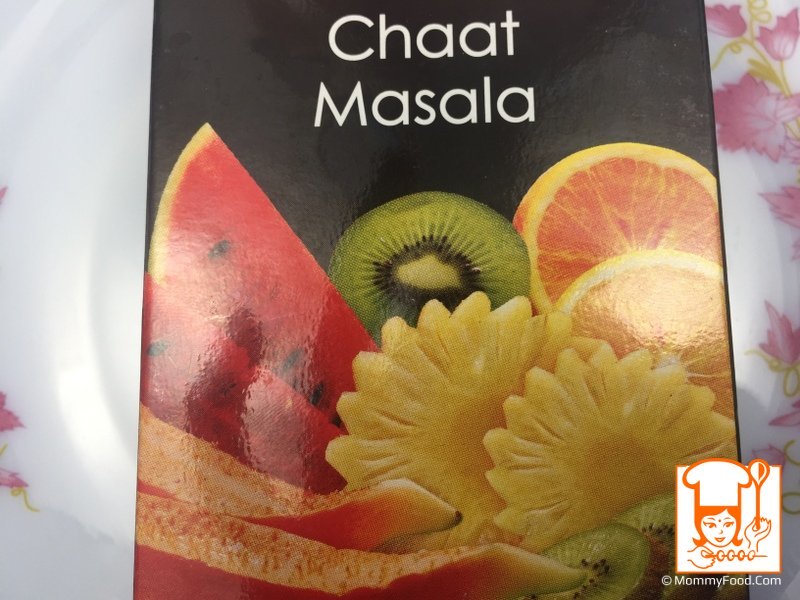
Chat masala: 1 tsp (optional)
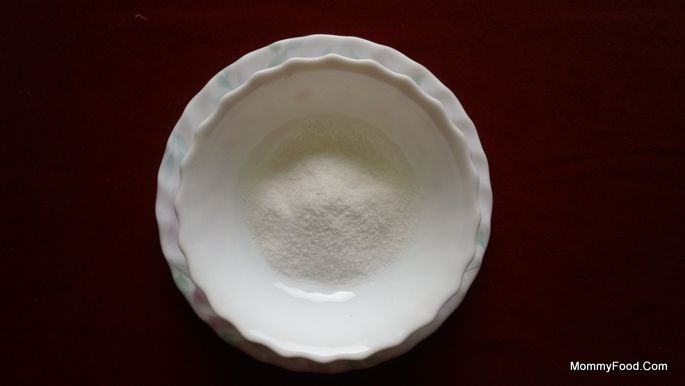
Salt: As required
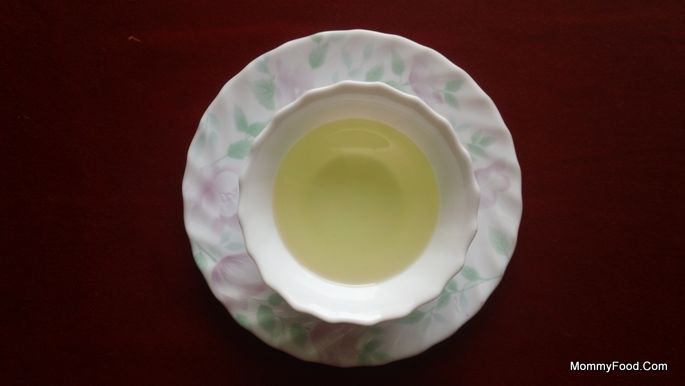
Oil: To fry
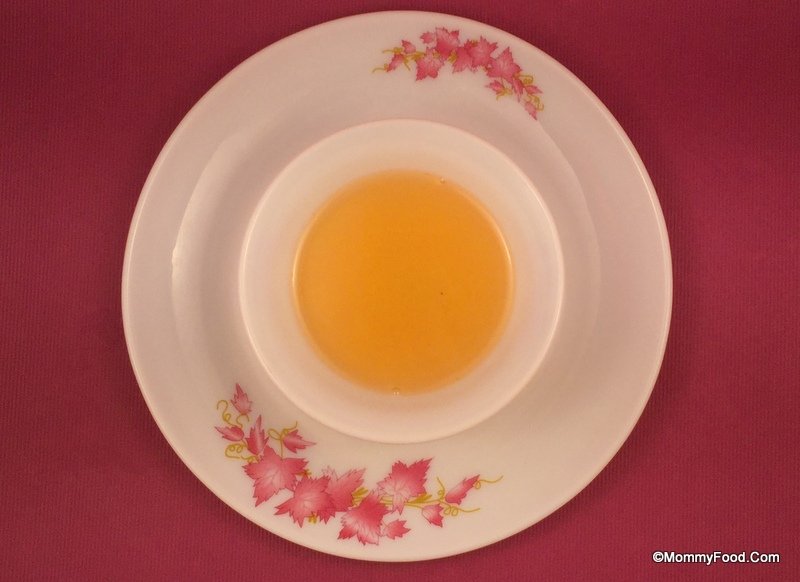
Clarified butter (ghee): To grease
Procedure
Step 1: Clean the Amaranth Leaves
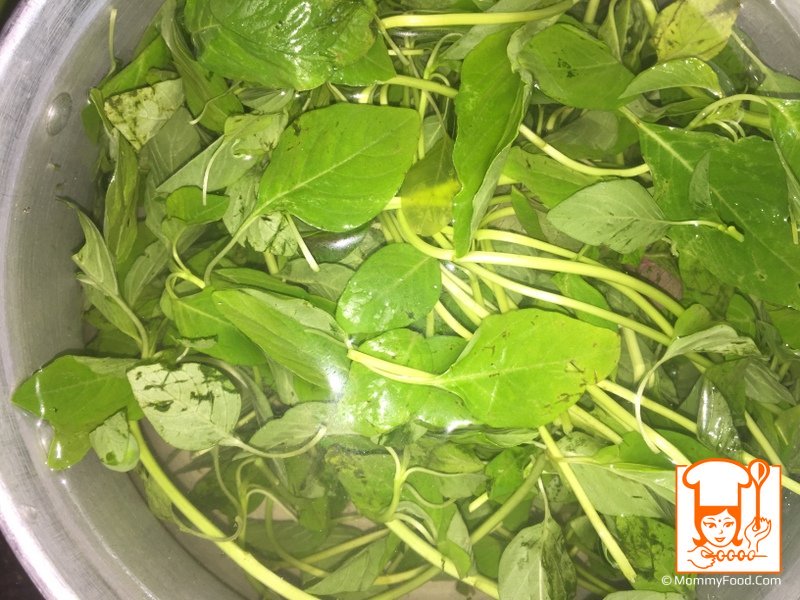
Start by cleaning the amaranth leaves. Soak them in a bowl of water with a little salt added for about 15 minutes. This helps remove any dirt or pesticides. Rinse thoroughly under running water before using.
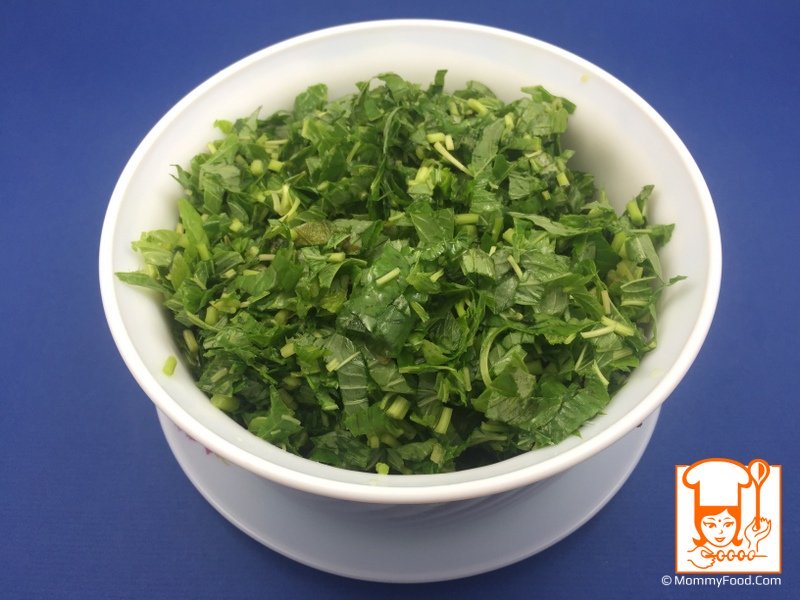
Step 2: Chop the Leaves
After cleaning, chop the amaranth leaves and their tender stems into small pieces. These chopped leaves will be the base of your cutlet mixture, packed with nutrients.
Step 3: Grease the Cooking Bowl
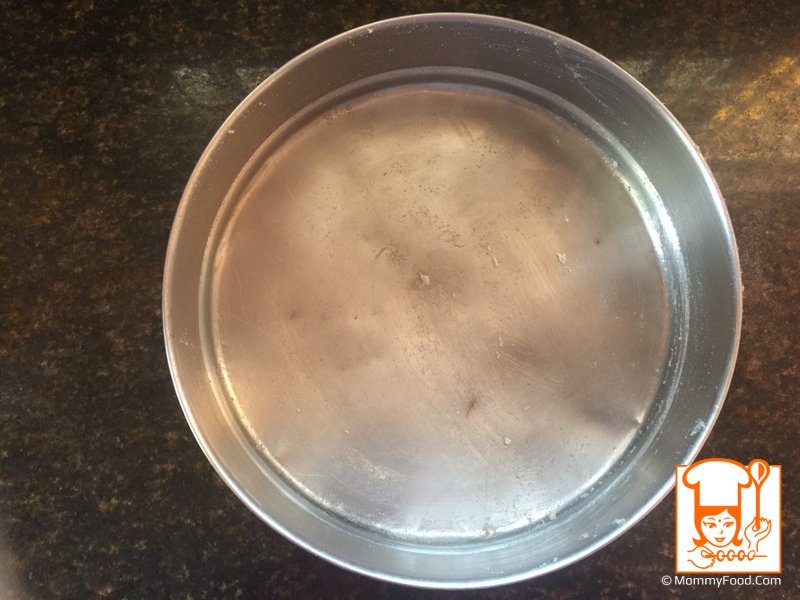
Grease a cooking bowl with ghee. This step ensures that the cutlet mixture doesn?t stick to the bowl while cooking.
Step 4: Prepare the Mixture
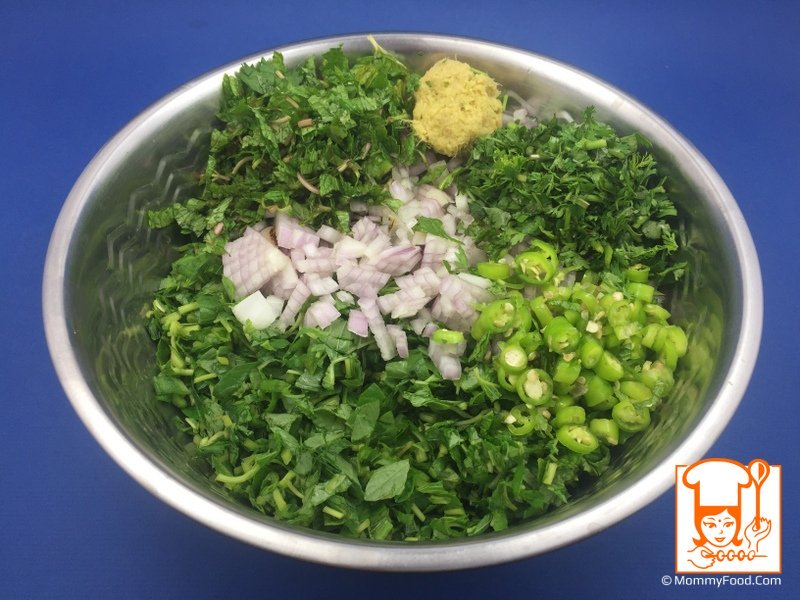
In a large mixing bowl, combine the chopped amaranth leaves with chopped coriander, curry leaves, mint leaves, green chillies, and ginger-garlic paste. Mix thoroughly to distribute the flavors evenly throughout the mixture.
Step 5: Add the Spices
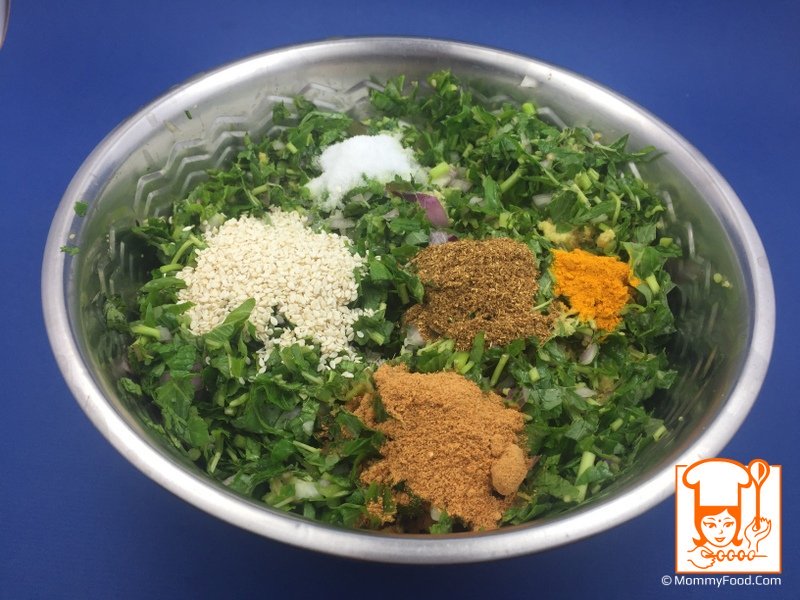
Next, add salt, sesame seeds, garam masala, chat masala (if using), and turmeric powder. Mix well to coat the leaves and herbs with the spices. The spices not only enhance the flavor but also provide health benefits, such as the anti-inflammatory properties of turmeric.
Step 6: Add the Besan Flour
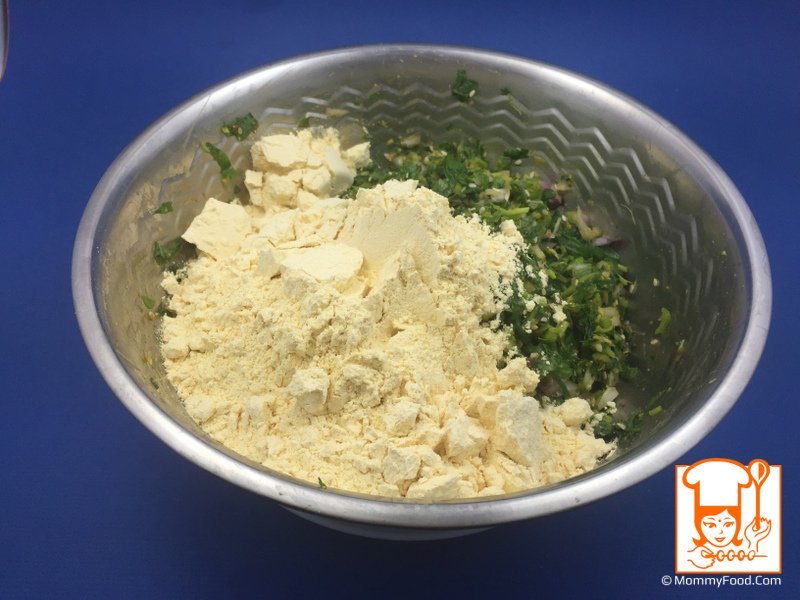
Add the besan flour to the mixture. This will help bind the ingredients together to form the cutlets. Mix everything thoroughly until a smooth dough forms. Avoid adding water, as the moisture from the leaves is usually sufficient.
Step 7: Spread the Mixture in a Bowl
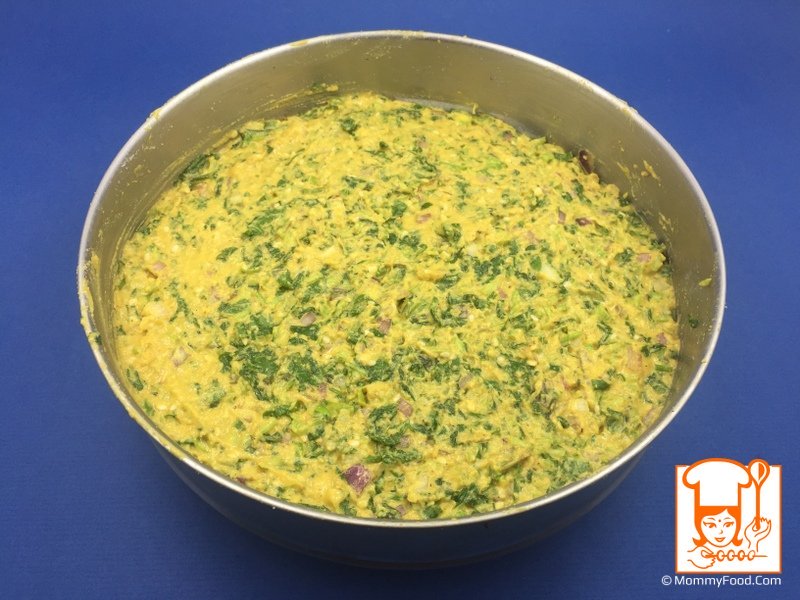
Once the mixture is well-combined, transfer it to the greased cooking bowl. Spread it evenly in a thin layer, pressing it down gently to make sure it?s compact.
Step 8: Steam the Mixture
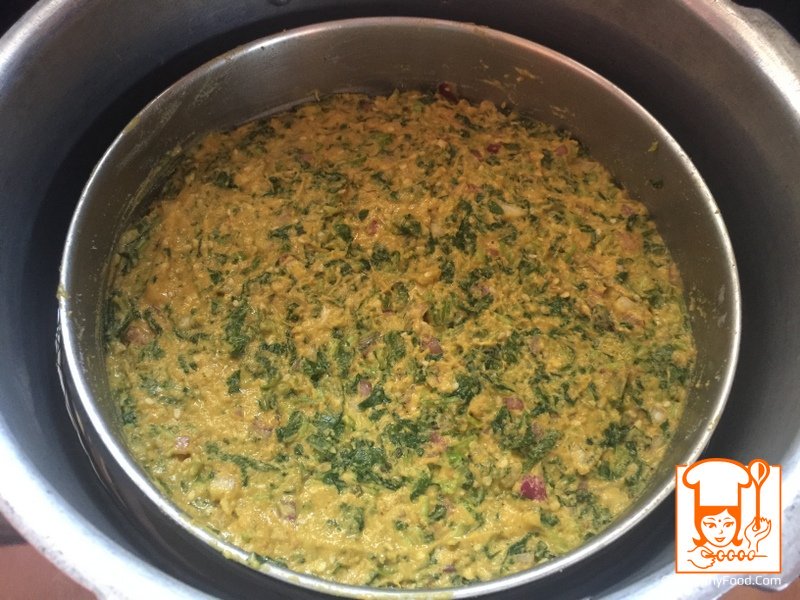
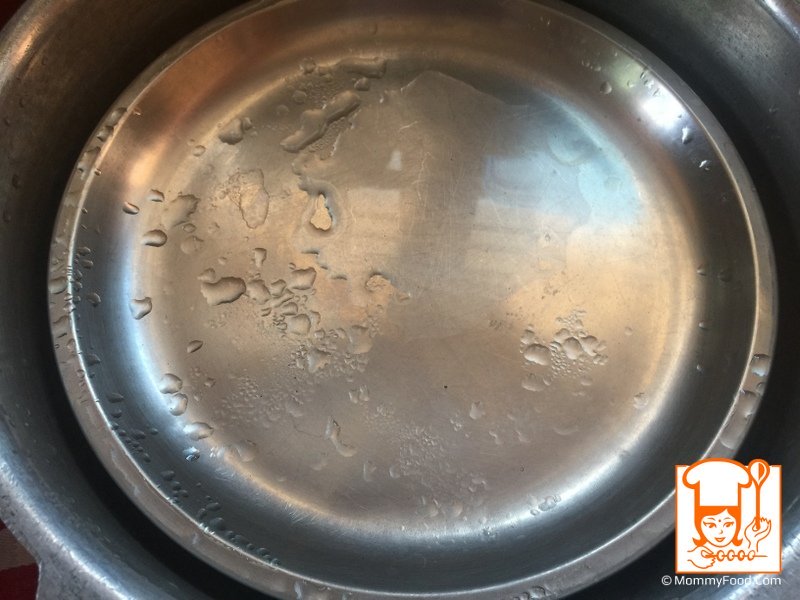
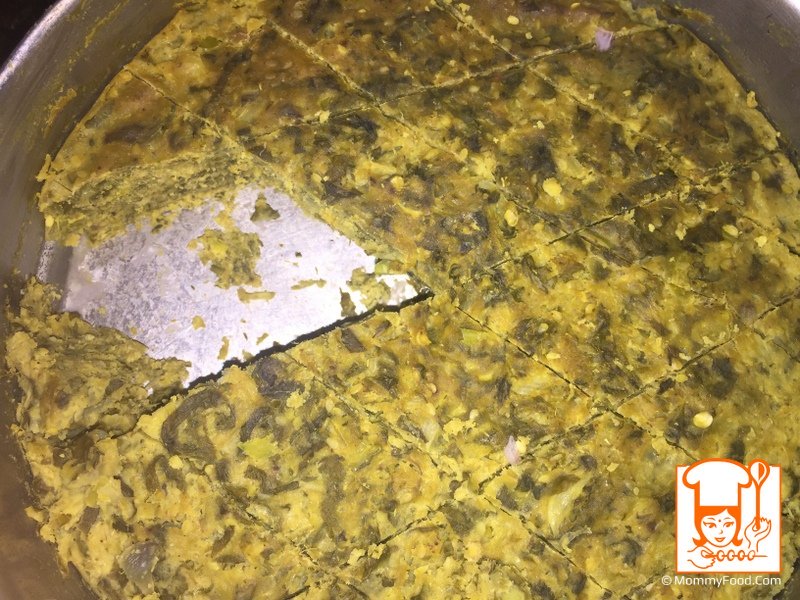
In a pressure cooker or pan, add 250 ml of water. Place the bowl with the mixture inside the cooker, close the lid, but do not use the whistle. Cook on high flame for 5 minutes, followed by 20 minutes on low flame. To check if it?s cooked, insert a knife or spoon in the center. If it comes out clean, the mixture is ready.
Step 9: Let it Cool and Cut into Shapes
Once the mixture has cooled to room temperature, remove it from the bowl. You can store it in the refrigerator for up to 2 days if needed. Cut the mixture into your desired cutlet shapes. If the mixture is too thick, cut the pieces into thin slices for better frying.
Step 10: Shallow Fry the Cutlets
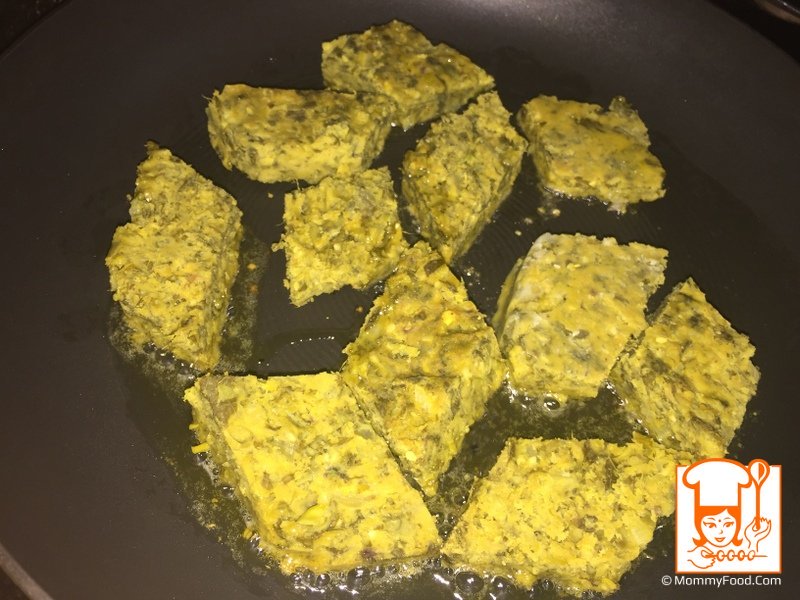
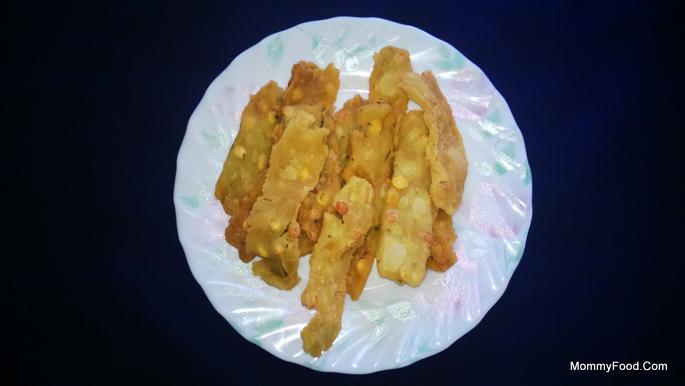
Preheat 2-3 tsp of oil in a frying pan. Once the oil is hot, shallow-fry the cutlets on low flame for about 10 minutes on each side until they are golden brown and crispy. Shallow frying helps retain the nutrients of the amaranth leaves while giving the cutlets a deliciously crisp exterior.
Serving Suggestions
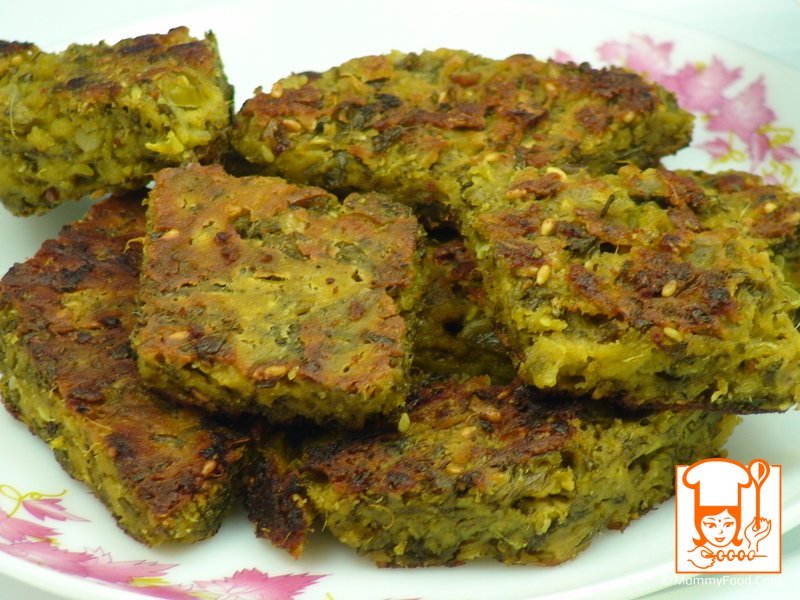
Hot and healthy amaranth cutlets are ready to serve! These cutlets taste best when paired with a tangy tomato sauce or chutney. The crispy exterior combined with the soft, flavorful inside makes them an irresistible snack that is both nutritious and delicious.
Q) What are the health benefits of eating curries cooked with amaranth leaves?
Amaranth leaves are rich in vitamins A and C, covering 55% and 69% of the recommended daily dietary intake per serving (100 grams). They are also a good source of antioxidants and fiber, making them excellent for digestion and overall health.Q) What are the advantages of cooking amaranth this way?
Since the cutlets are steamed and then shallow-fried, this method requires less oil compared to deep frying, making it a healthier option while still retaining flavor and texture.Q) Is chaat masala compulsory for this recipe?
No, chaat masala is optional in this recipe. It adds a tangy flavor but can be skipped if you prefer a more traditional taste.
Like our recipes? You want us to do more?
Keep us running! Buy from our affiliate store:
US | Amazon Best Sellers & Deals
India | Amazon Best Sellers & Deals








Comments powered by CComment