Ribbon Pakoda
Prepared By Lakshmi Aparna
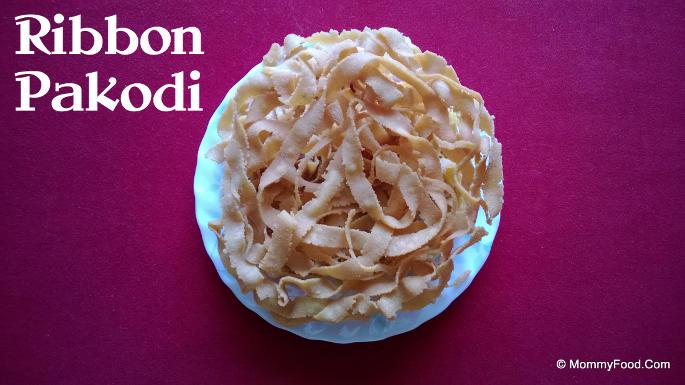
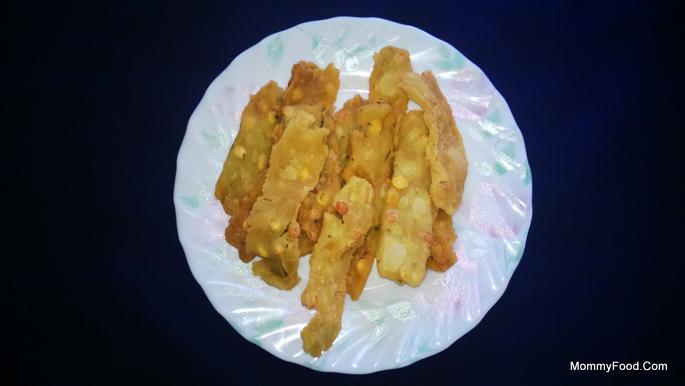
Ribbon Pakoda is a delightful and crispy snack that is perfect for any occasion. Whether you're preparing for a festive gathering or simply craving something savory to munch on, Ribbon Pakoda offers a unique texture and rich flavor that is sure to satisfy your taste buds. This recipe combines the goodness of Bengal gram flour with aromatic spices to create a mouth-watering treat that everyone will love.
Preparation time: 10 minutes
Cooking time: 30 minutes
Yield: 750 grams
1 Cup measurement: 200ml
Quick Navigation:
- Ingredients
- Procedure
- Step 1: Prepare the Spice Paste
- Step 2: Combine the Flours
- Step 3: Add Cooking Butter
- Step 4: Incorporate the Spice Paste
- Step 6: Prepare for Frying
- Step 7: Fry the Pakodas
- Step 8: Serve and Enjoy
Ingredients
Senagapindi (Bengal Gram Flour): 2 Cups
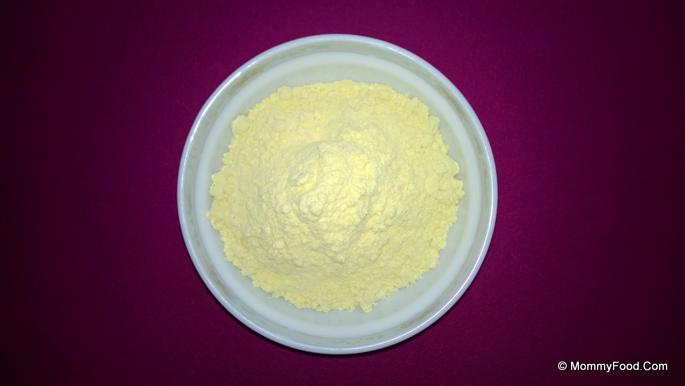
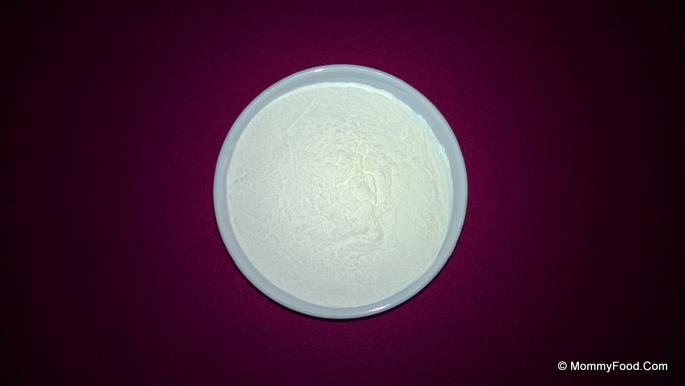
Biyyampindi (Rice Flour): 1 Cup
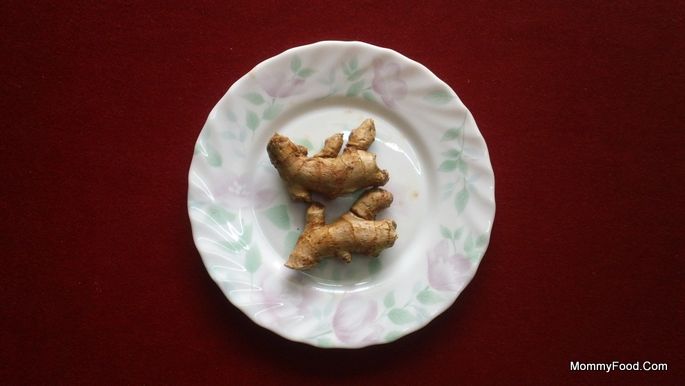
Allam (Ginger): 2 inches piece
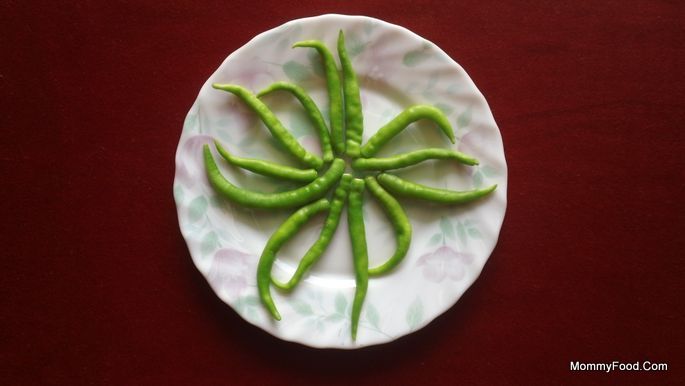
Pachimirapa (Green Chillies): 5 or 6
Nune (Oil): 1/2 kg
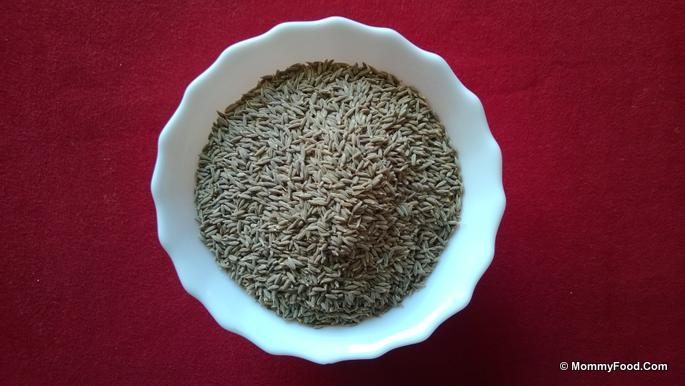
Jeelakarra (Cumin Seeds): 1 tsp
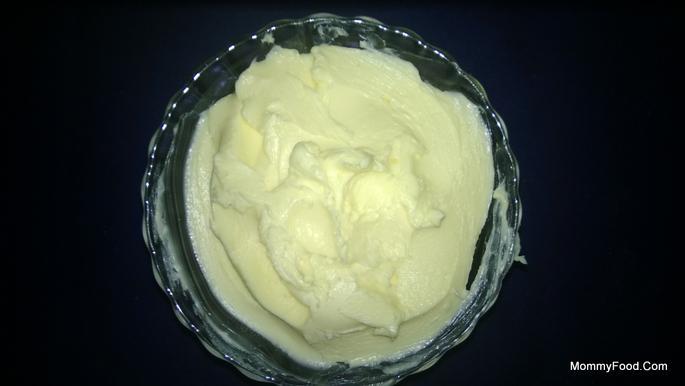
Venna (Cooking Butter): 2 Tsp
Salt: As Per Taste
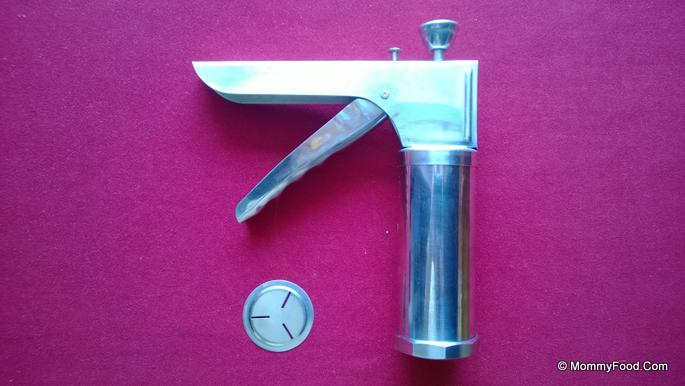
Pakoda Maker
Procedure
Step 1: Prepare the Spice Paste
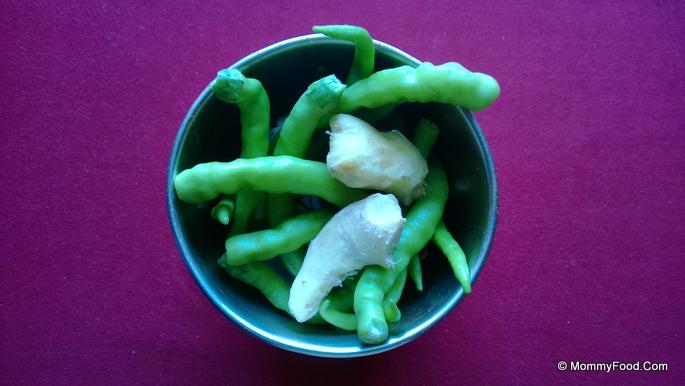
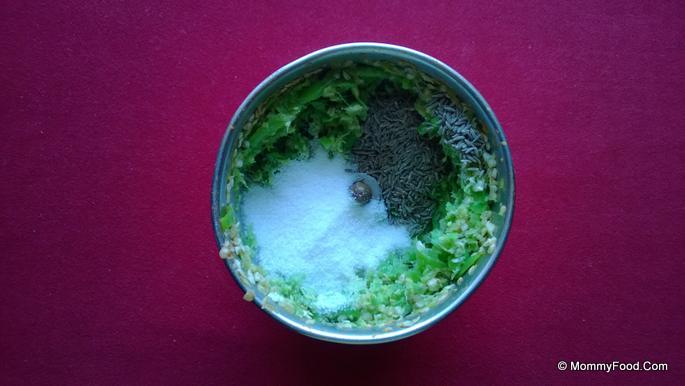
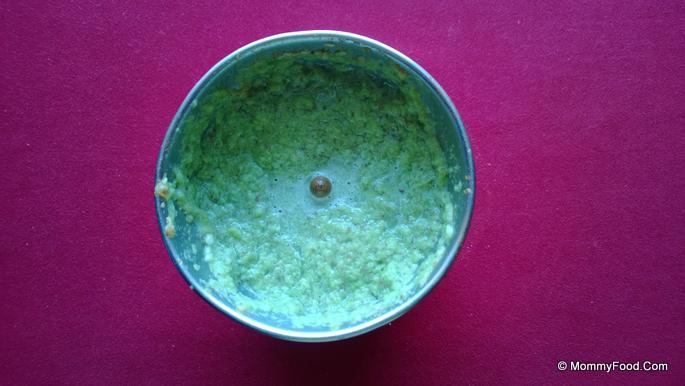
In a blender, combine the fresh ginger, green chillies, 1 tsp of salt, and 1 tsp of cumin seeds. Add a little water to facilitate blending and process until you achieve a smooth paste. This aromatic mixture forms the base of our Ribbon Pakoda, infusing it with vibrant flavors.
Step 2: Combine the Flours
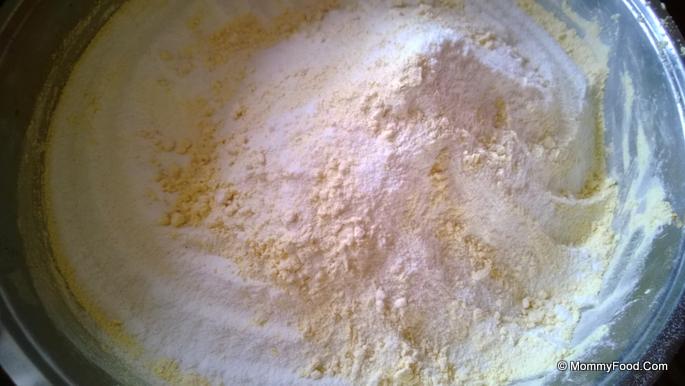
In a large basin, thoroughly mix 2 cups of Bengal gram flour (Senagapindi) with 1 cup of rice flour (Biyyampindi). Ensure the flours are well combined to create a smooth and even batter.
Step 3: Add Cooking Butter
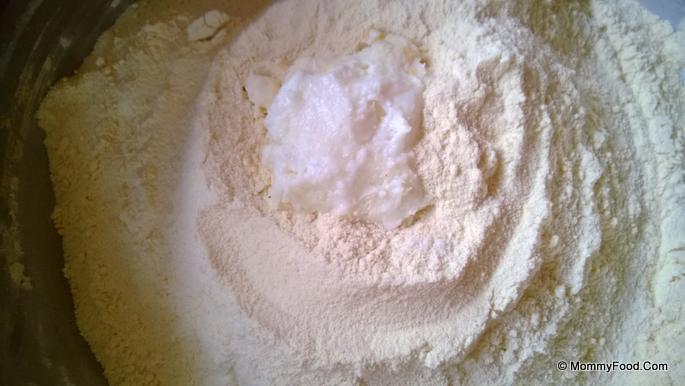
Add 2 teaspoons of cooking butter (Venna) to the flour mixture. This not only enhances the flavor but also contributes to the crispiness of the pakodas. Mix well to ensure the butter is evenly distributed throughout the batter.
Step 4: Incorporate the Spice Paste
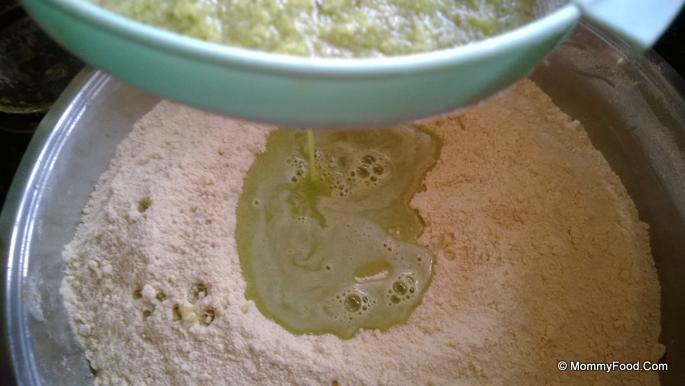
Filter the water from the blended ginger and chilli paste into the flour mixture. Stir well to combine all ingredients, forming a smooth and consistent batter ready for frying.
Step 5: Adjust the Batter Consistency
Take a small quantity of the batter and add water as needed to achieve a smooth and pourable consistency. Taste the batter and add additional salt if necessary to enhance the flavors.
Step 6: Prepare for Frying
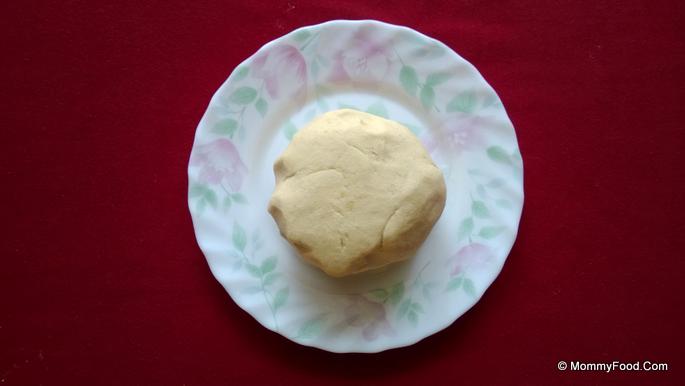
Insert the dough into the pakoda maker. Heat 1/2 kg of oil in a wide, deep pan over medium heat, ensuring the oil is hot enough for frying.
Step 7: Fry the Pakodas
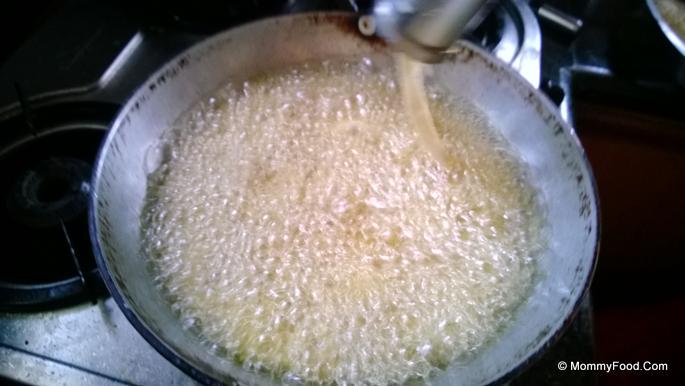
Slowly press the dough into the hot oil in a spiral fashion. Fry the pakodas until they achieve a golden color, ensuring they are crispy on the outside and cooked through. Remove the pakodas using a strainer and drain any excess oil.
Step 8: Serve and Enjoy
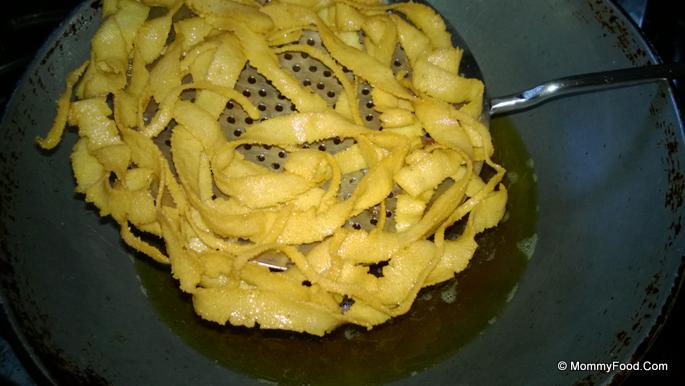
Crispy Ribbon Pakoda is now ready to be enjoyed as an evening snack. These delectable pakodas have a shelf life of around 30 days when stored properly, making them a convenient and tasty addition to your snack repertoire.
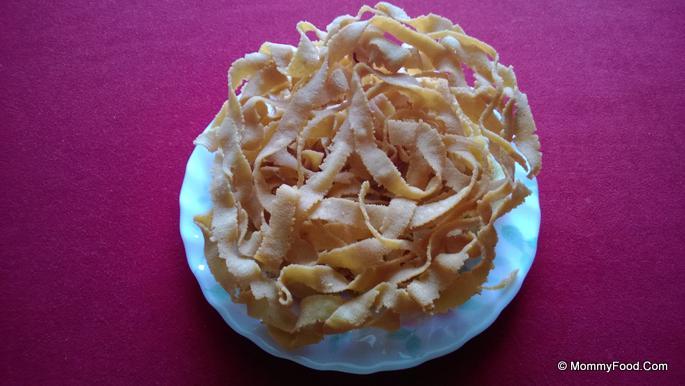
Ribbon Pakoda offers a perfect blend of flavors and textures, making it a favorite among snack lovers. Whether served with chutney or enjoyed on its own, this snack is sure to bring joy to your taste buds and add a touch of tradition to your meal.
Like our recipes? You want us to do more?
Keep us running! Buy from our affiliate store:
US | Amazon Best Sellers & Deals
India | Amazon Best Sellers & Deals







Comments powered by CComment